Validation settings is a function where you can expose ads and drop rate banners required to pass Apple’s App Review (App Submission). If you change the status to “Validating” in Promotion> App Settings, only the event and notice menus will be exposed. Only the banners saved as iOSvalidation promotion type are exposed in the event menu.
Validation Settings
Validation Settings
Click Promotion > App Settings.
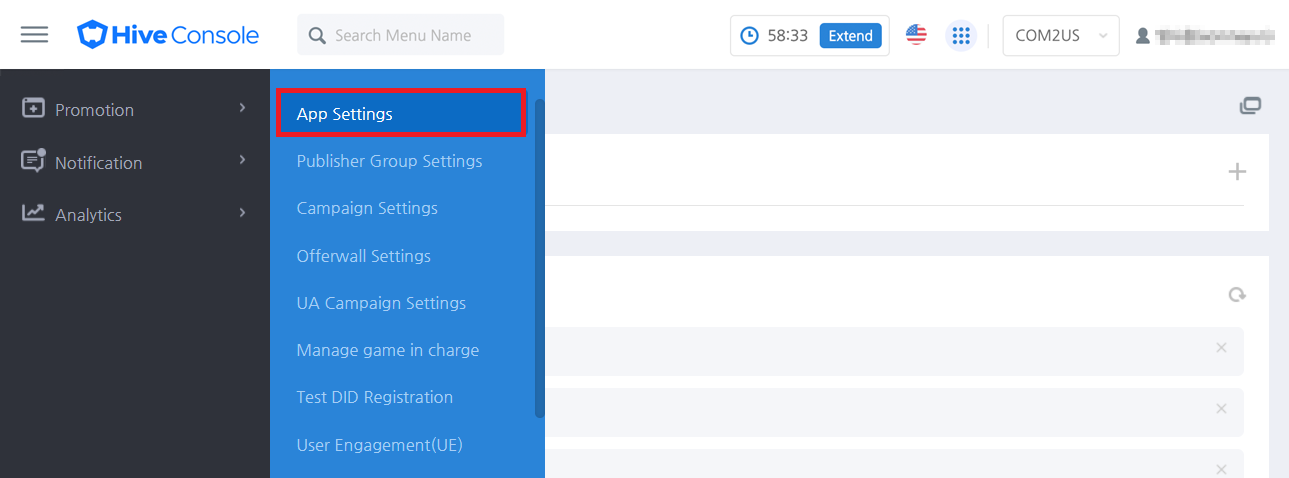
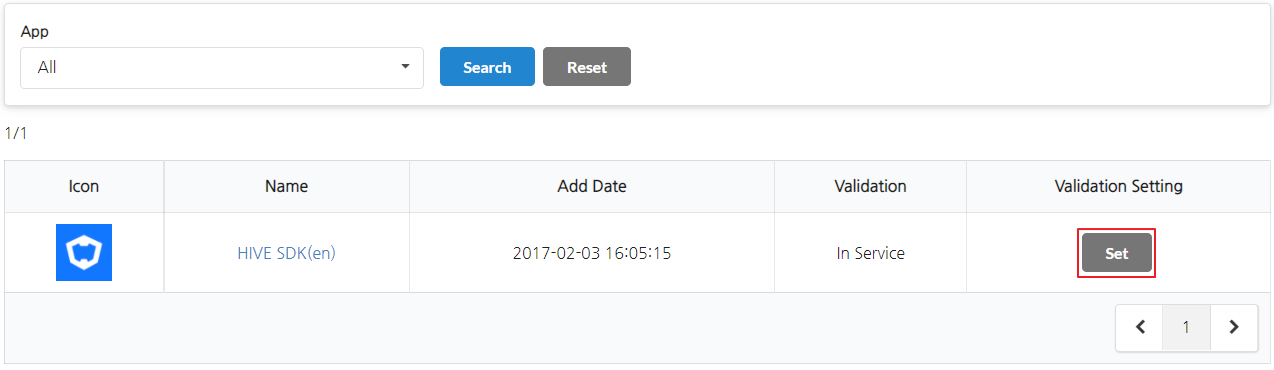
Search for the game that you want to change the Validation Setting and click the Set button of the game.
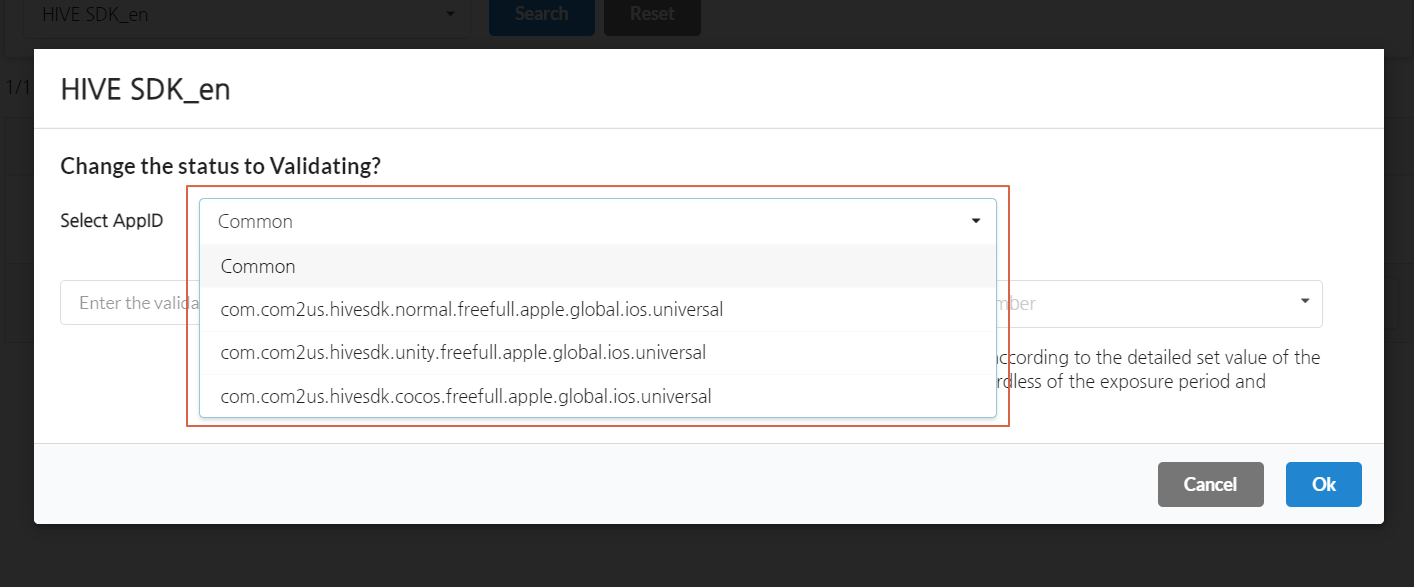
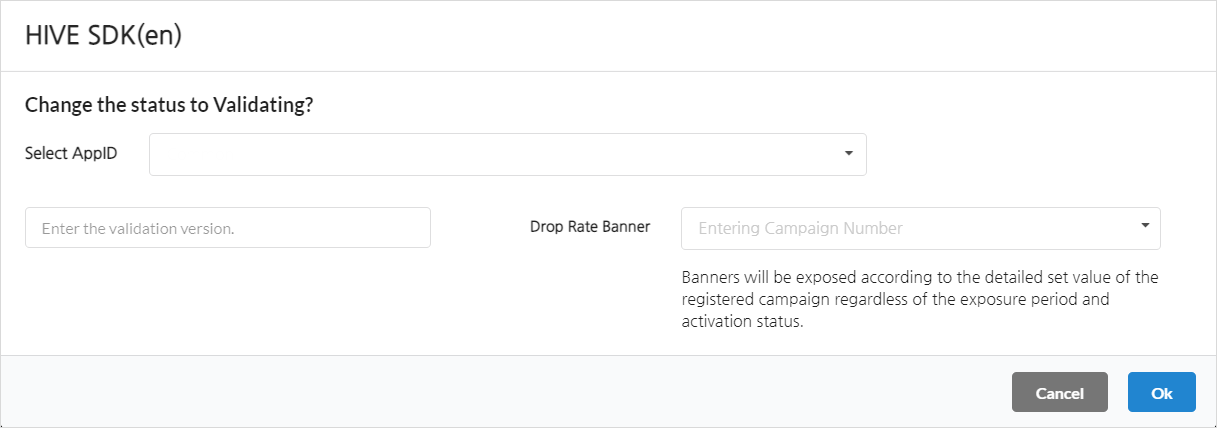
Select the App ID and enter the review version to set the default banner for review Only AppIDs with the Apple market are exposed as optional items. The default setting is “Common”, and when set to “Common”, the review setting is applied to all iOS AppIDs.
You’ll be able to see that the game status has been changed to validation on the list. If you want to cancel validation, click the Set button again.

[News screen applied with review banner]

Setting the banner for review
You can register multiple banners for review by following the guide.
Set the promotion type of the banner to be used as banner as “iOSvalidation” in Promotion> Campaign Settings > General Banner and save.
The status should be “Activated” and it will not be exposed to commercial services. If the banner needs to be exposed to commercial services, you should copy the campaign and set the promotion type assigned to the menu name to be exposed.


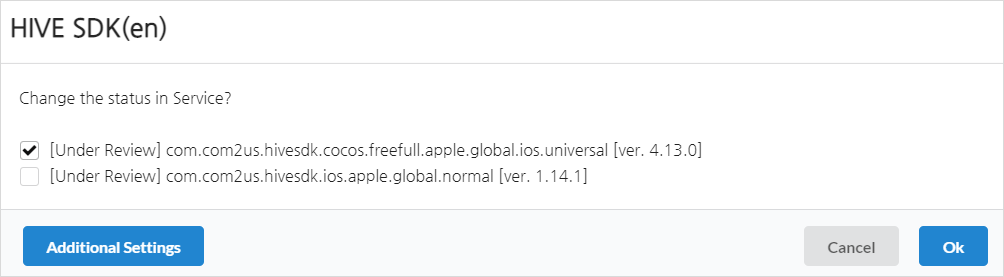
Additional Reviews
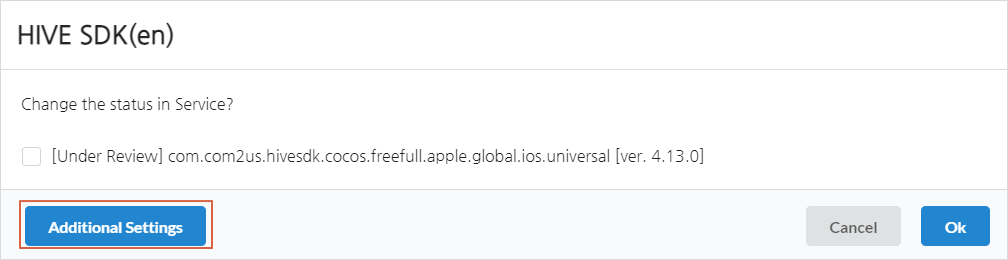
Currently being validated. Click Set.

Shows the APPID and version of the app under validation as items. Click Additional Settings.
Select the APPID from the pop-up and enter the validation version. If you click Ok, you can additionally check the corresponding APPID.
The APPID additionally set to be validated has been added.
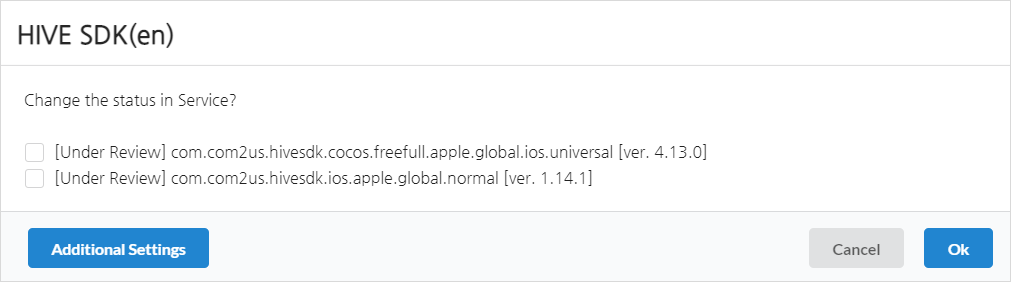
Disable Reviews
Check the APPID to cancel the validation. If you click Ok, only the selected APPID will be checked.