Apple APNs
Apple Push Notification service (APNs) is a certificate required to use Push Notification on an app for iOS. APNs is issued separately for development and for distribution. The expire duration is 365-day for development and is 395-day for distribution, so you should reissue the certificate when it expires. Follow the procedures below to create Apple APNs:
1. Create CSR
Certificate Signing Request (CSR) is required to issue APNs from Apple Developers. Follow the procedures below to create CSR.
-
-
-
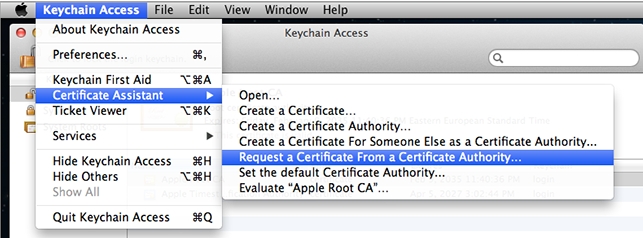
- Click Keychain Access > Certificate Assistant > Request a Certificate From a Cerificate Authority….
- Check User Email Address and Common Name of Certificate Information.
- Check Saved to disk and Let me specify key pair information of Request is; then click Continue.

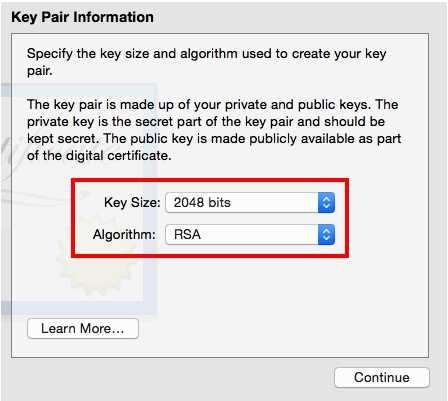
- After setting the certificate save location, set the Key Size to 2048 bits and Algorithm to RSA as default on Save > Key Pair Information, then click Continue.
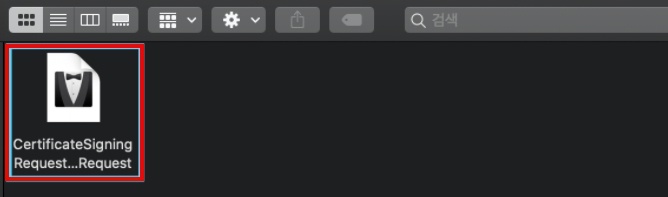
- Complete to create the certificate.
- Click Keychain Access > Certificate Assistant > Request a Certificate From a Cerificate Authority….
-
-
2. Create and Download APNs
-
-
-
- Log in to Apple Developers and go to Certificates, Identifiers & Profiles > Identifiers to choose an app that requires to issue an APNs. (For creating an app, refer to Step 1-1.)
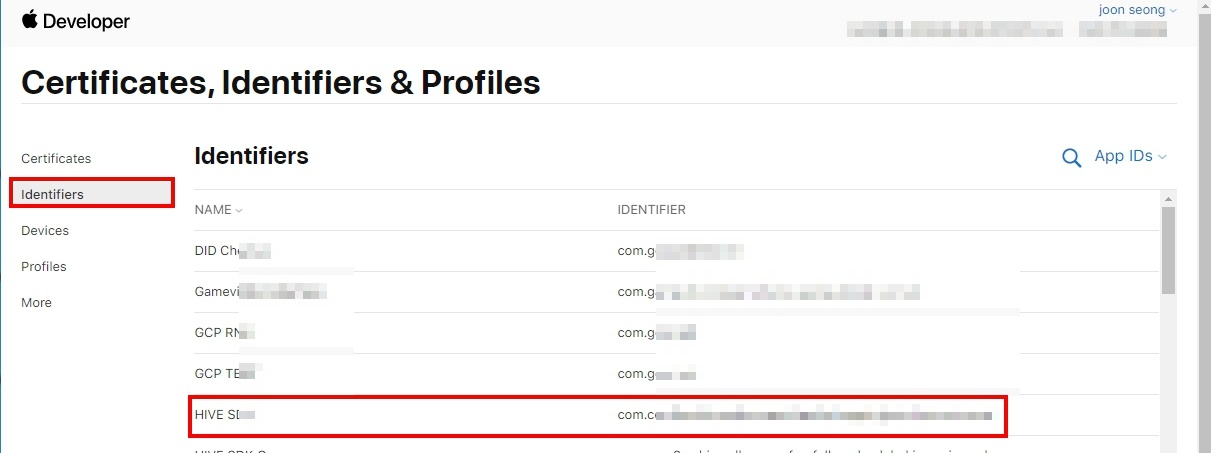
- Click
 on the Identifiers page to create an App ID.
 - Click Register a New Identifier > App IDs.
- Confirm a Platform, enter the game title in Description, and select Explicit Bundle ID.
Check Push Notifications and click Continue.
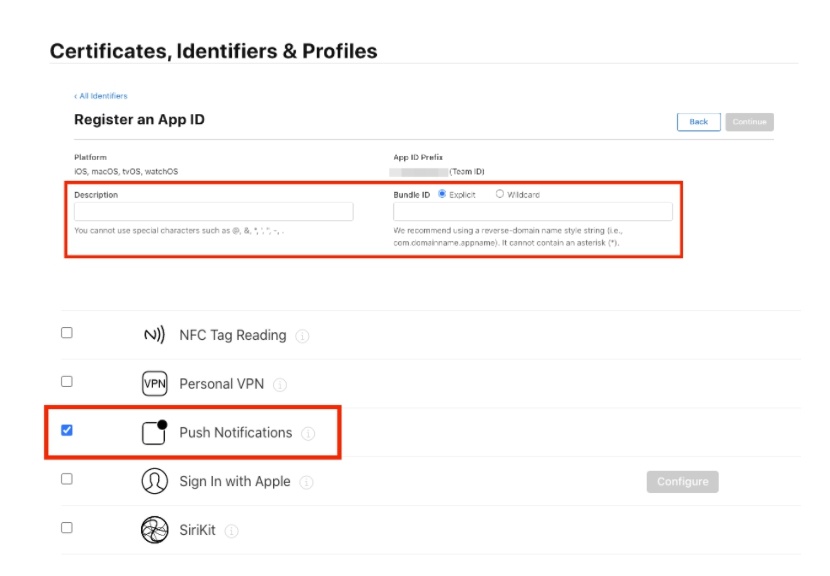
- Check the information and click Register to complete creating an App ID.
- Click
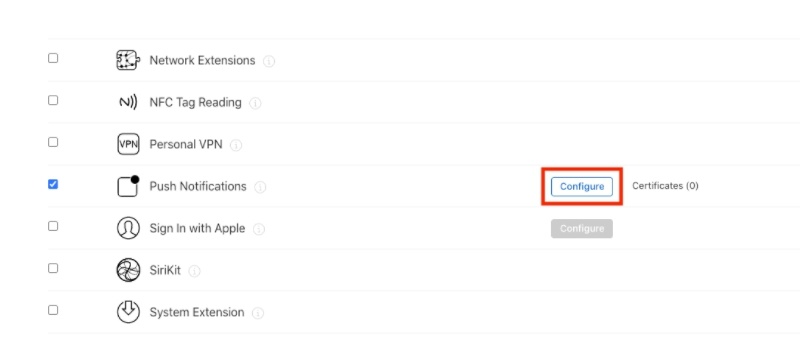
- Click Configure beside Push Notifications. (If the AppId is in use, click Edit.)
- Click Development SSL > Create Certificate.
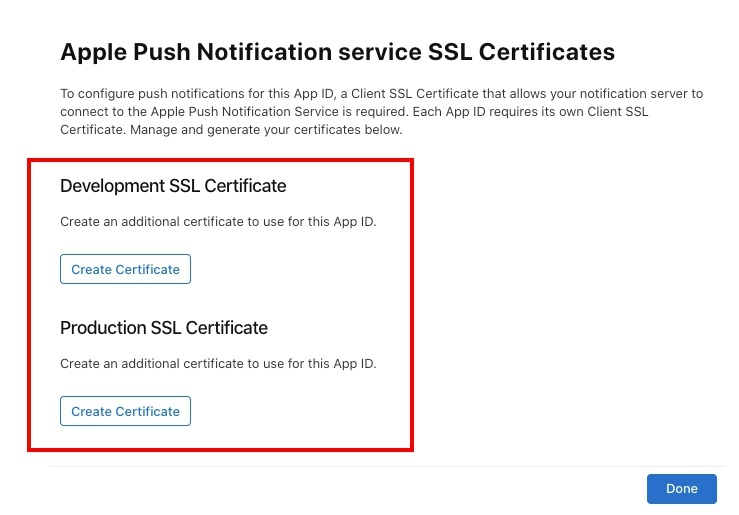
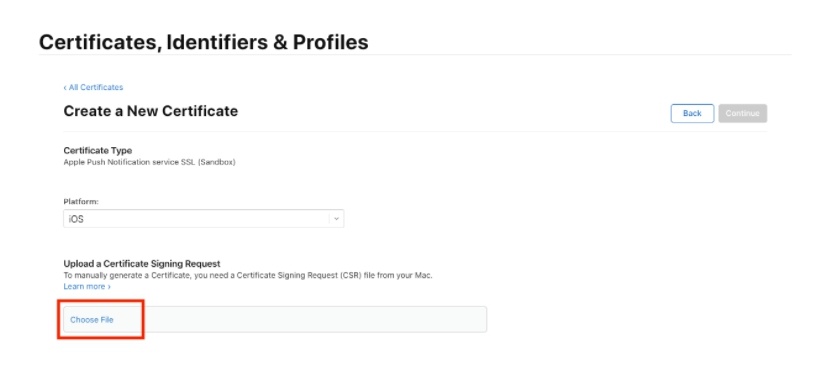
- On the Create a New Certificate > Platform page, upload CertificateSigningRequest which is created in Step 1. and click Continue.
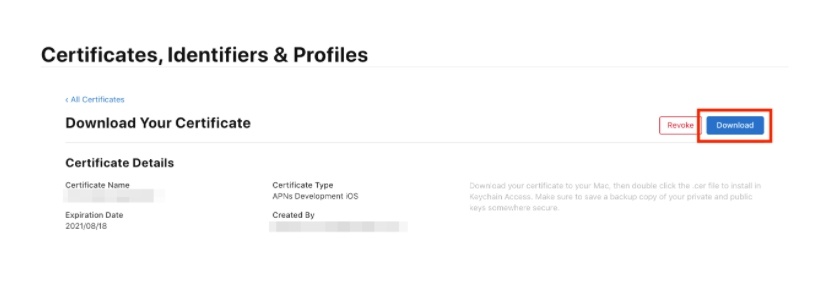
- Click Download on the Download Your Certificate page. (Production도 동일하게 진행합니다.)
- Log in to Apple Developers and go to Certificates, Identifiers & Profiles > Identifiers to choose an app that requires to issue an APNs. (For creating an app, refer to Step 1-1.)
-
-
3. Register Key Chain and Create the .p12 file
- Double-click the aps_development.cer and aps.cer files to register a key chain. The key chain runs automatically.

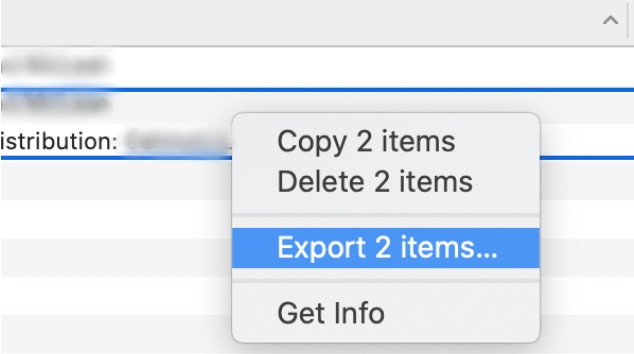
- Select Apple Development IOS Push Services: Bundle ID and private key, by holding shift and clicking both items, then right click and click Export 2 items... from the shortcut menu.
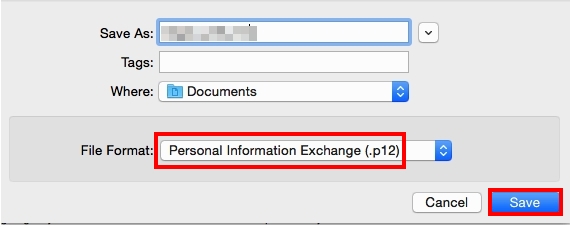
- After you fill a file name in the Save As field, make sure the file format is a Personal Information Exchange (.p12) and click Save without setting a password.
Generate Apple Shared Secret key
The Shared Secret key is a 32-digit hexadecimal string. You can create the master shared secret, which is a single code used by all apps, or create an app-specific shared secret for each app. You can use a master shared secret for some apps and use the app-specific shared secrets for the others.
Master Shared Secret
- Log in to the App Store Connect.
- Go to the Users and Access > Shared Secret and create it.
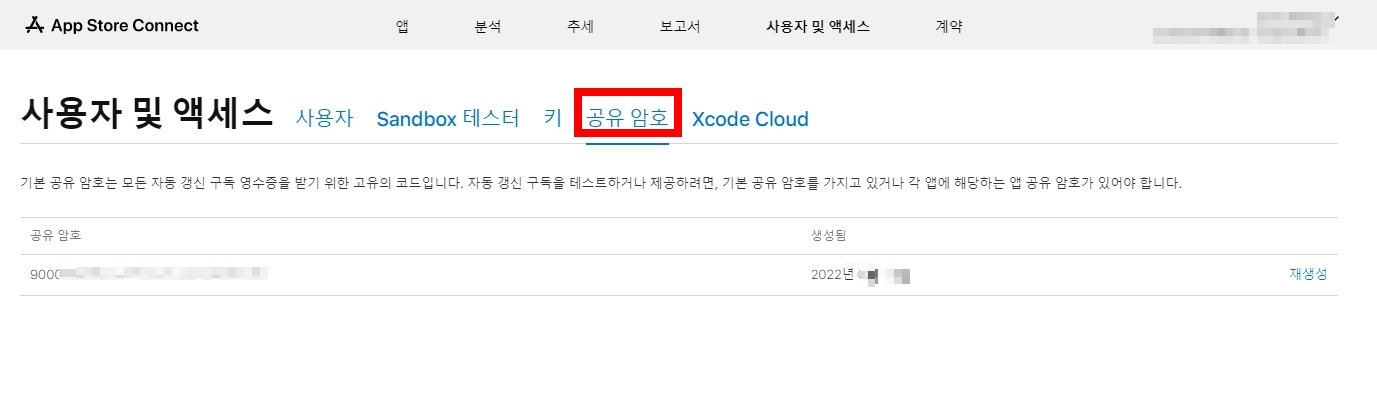
- When you create a new shared secret, all apps within your organization that use the shared secret must use the new value when checking for the automatic renewal of subscriptions.
App–Specific Shared Secret
- Log in to the App Store Connect.
- Click My Apps to select an [app].
- Go to the General > App Information > App–Specific Shared Secret and create it.
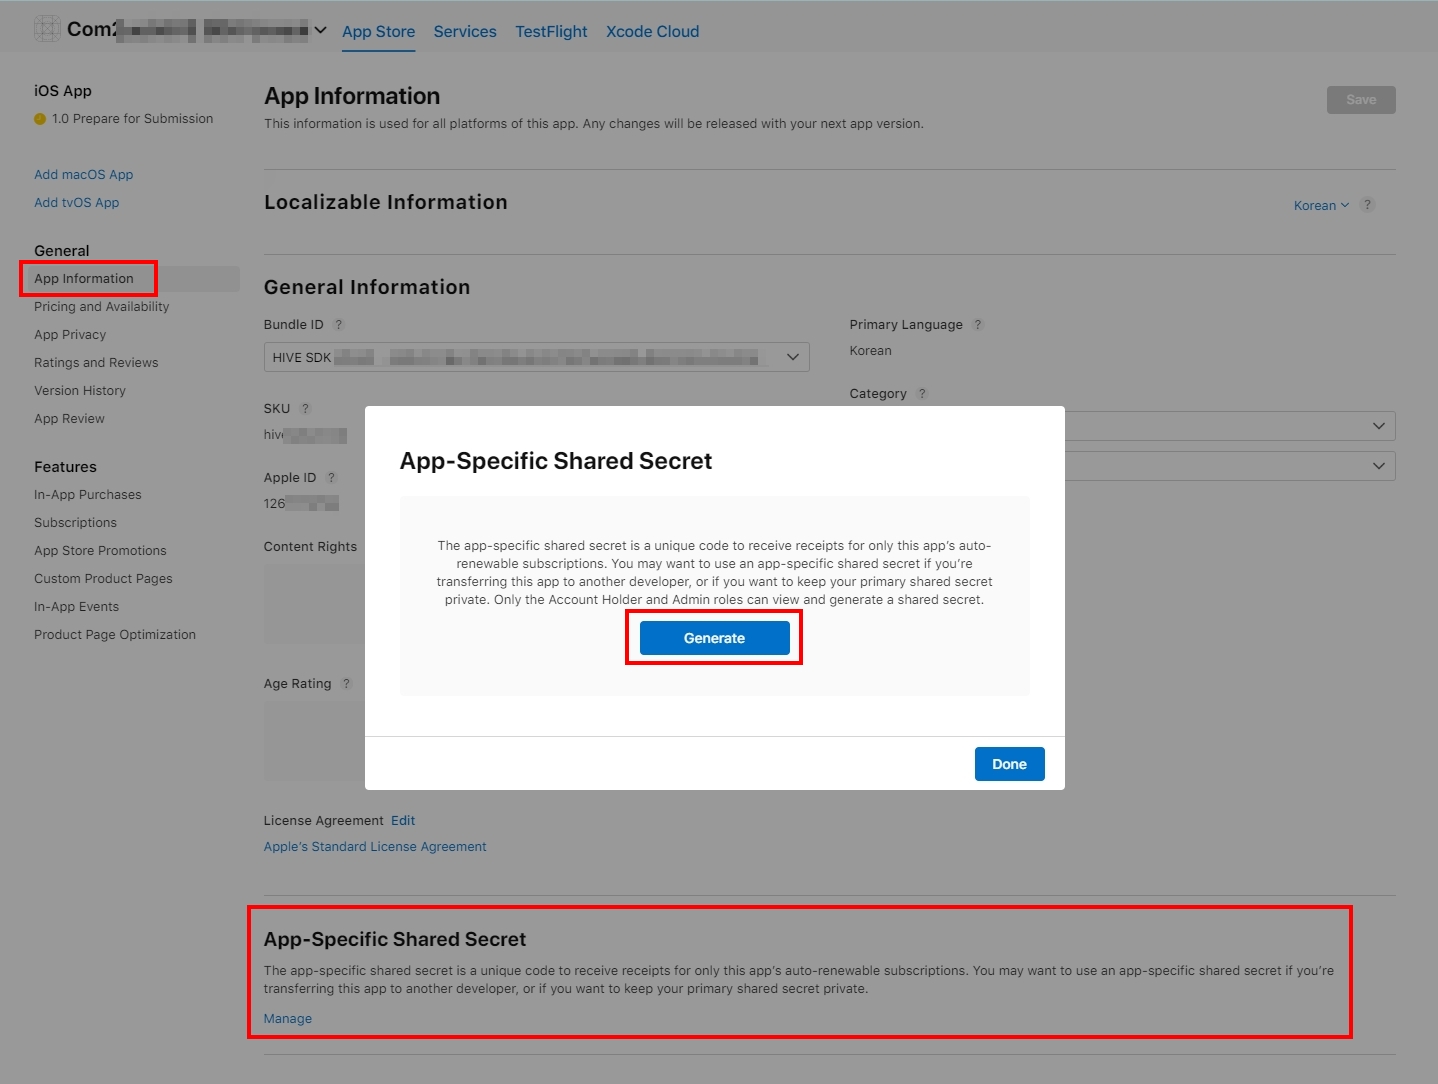
- You may need to use an app-specific shared secret if you want to keep that app’s code private or transfer this app to another developer account.
- You no longer can use a master shared secret for the app if an app-specific shared secret is used for this app.
- It is impossible to delete an app-specific shared secret. It only can be created again.
Sign in with Apple Setup for Other Platforms
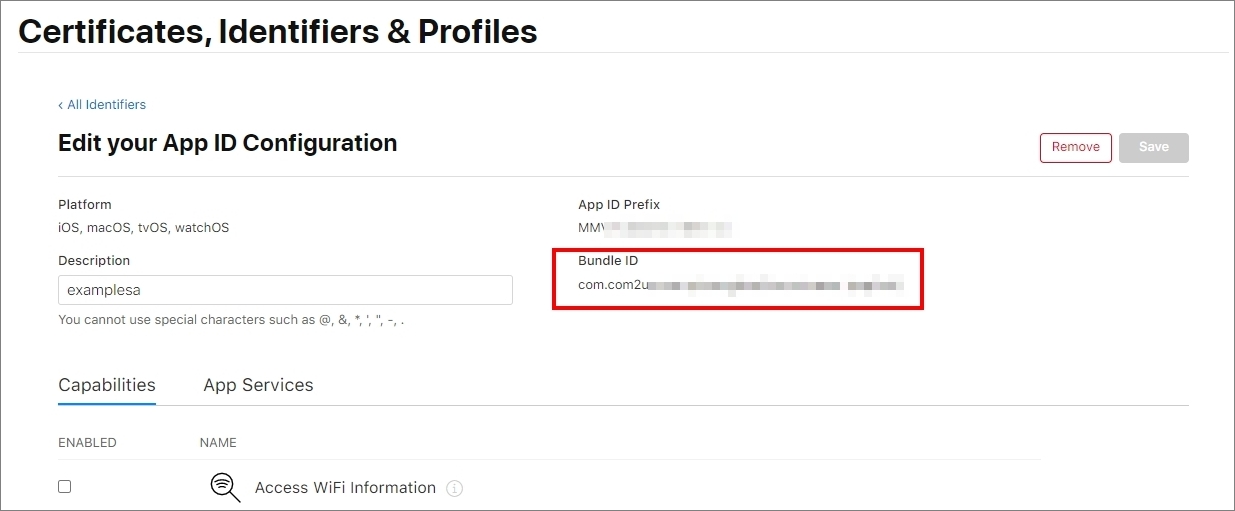
- Click Account > Certificates, Identifiers & Profiles > Identifiers on the Apple Developers menu and confirm Bundle ID.
-
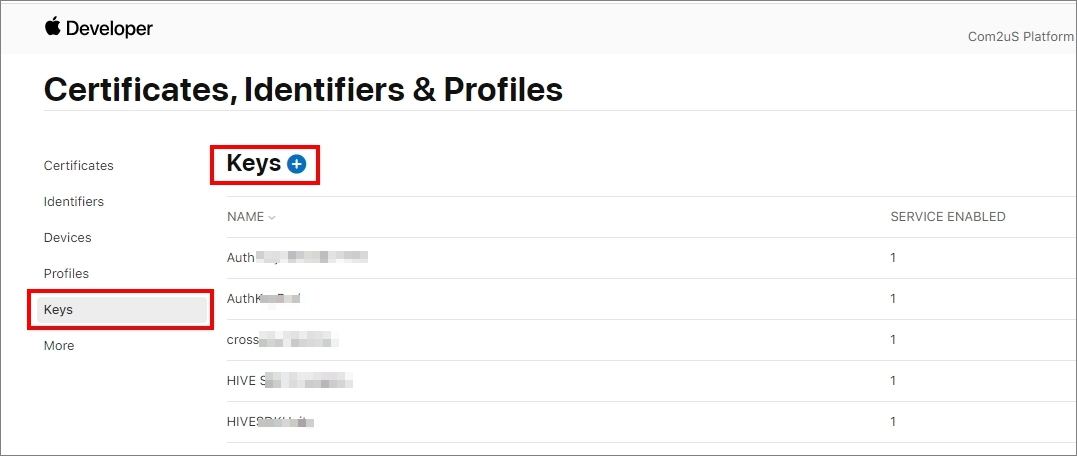
Click Account > Certificates, Identifiers & Profiles > Keys on the Apple Developers menu and click the
 button.
-
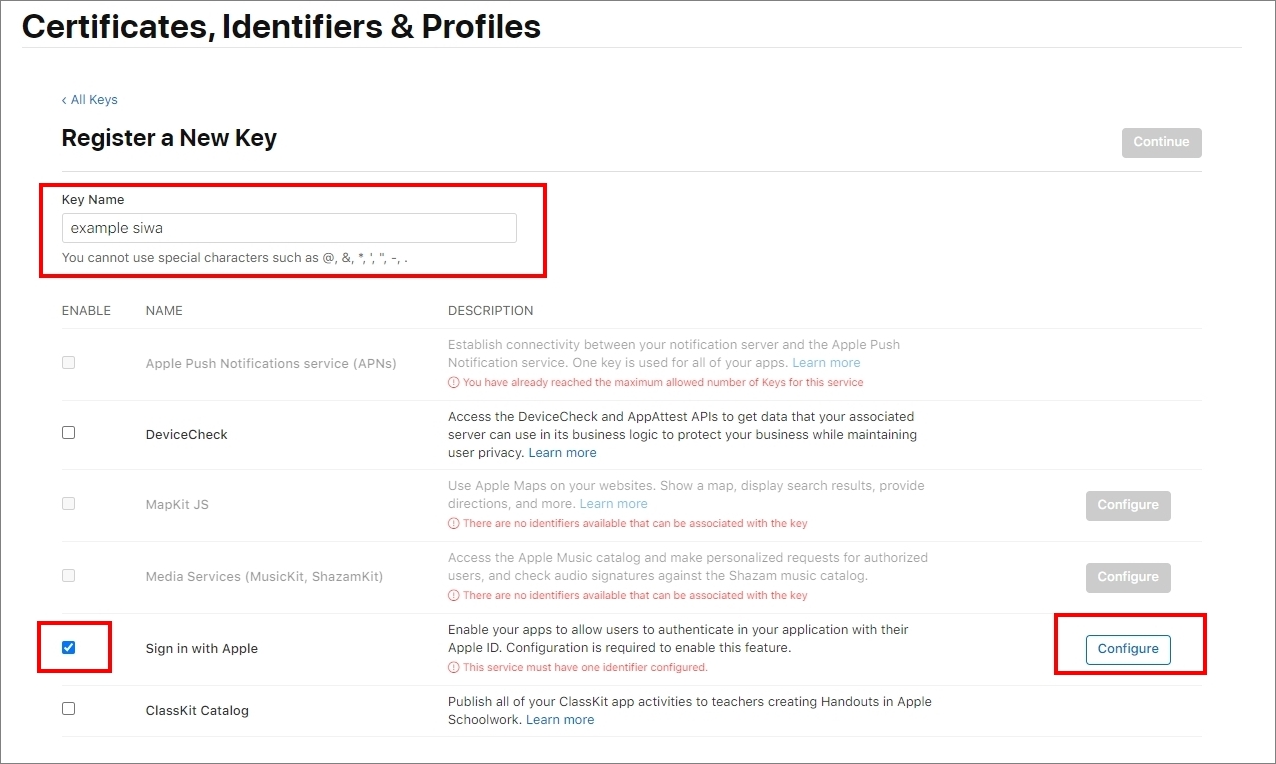
Enter the Key Name field and select Sign in with Apple. Then, click Configure.
-
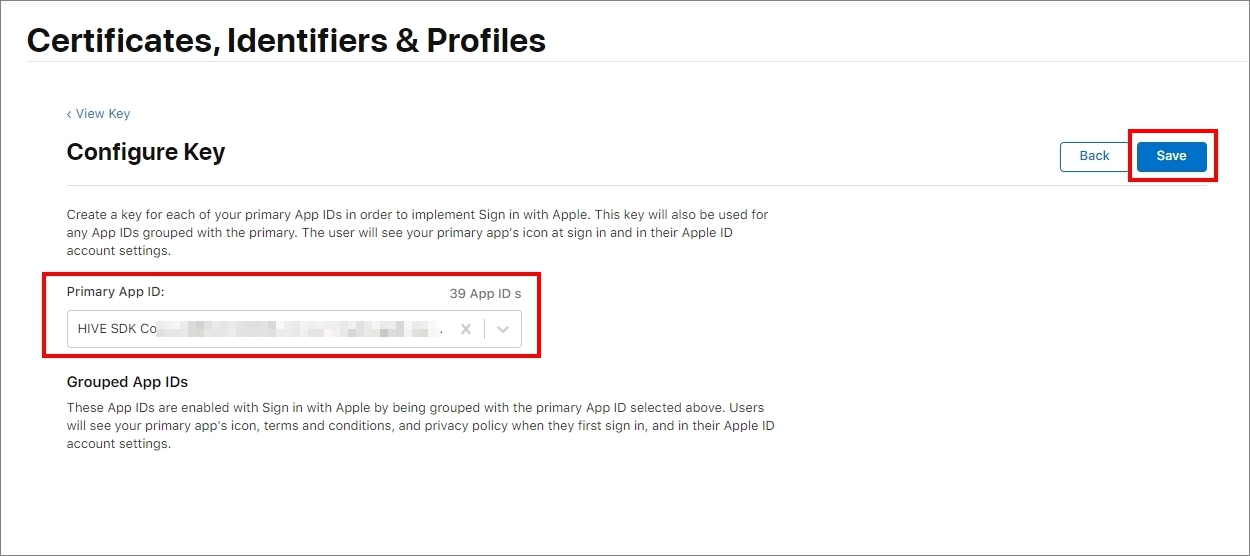
On the Configure Key page, select an app Id from Primary App ID that you want to use Sign in with Apple, and click Save.
-
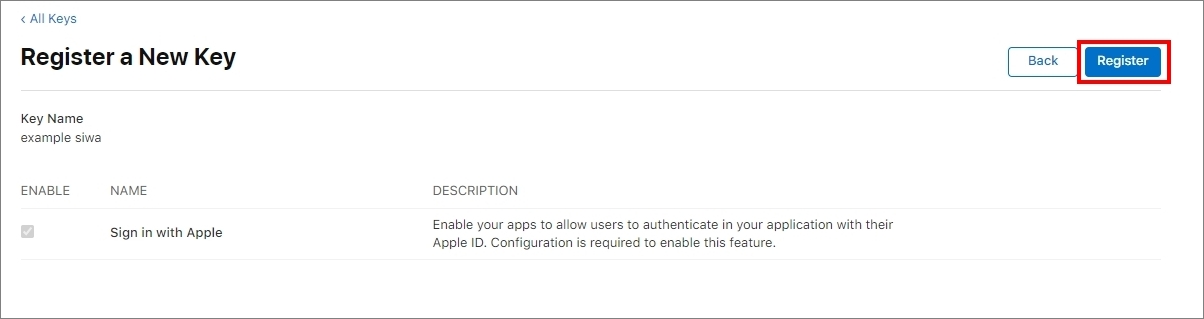
Click Register on the Register a New Key page.
-
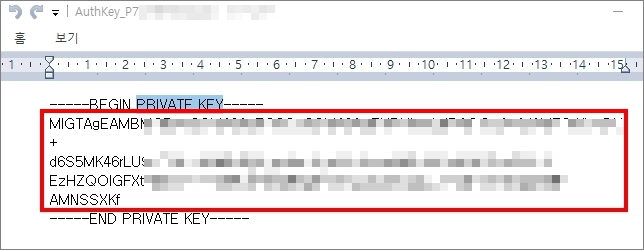
On the Download Your Key page, confirm the Key ID and click Download to create and download the key.
* You can download the key file only once, so keep the key file carefully.

- Open the key file you downloaded and confirm the Private Key.
-
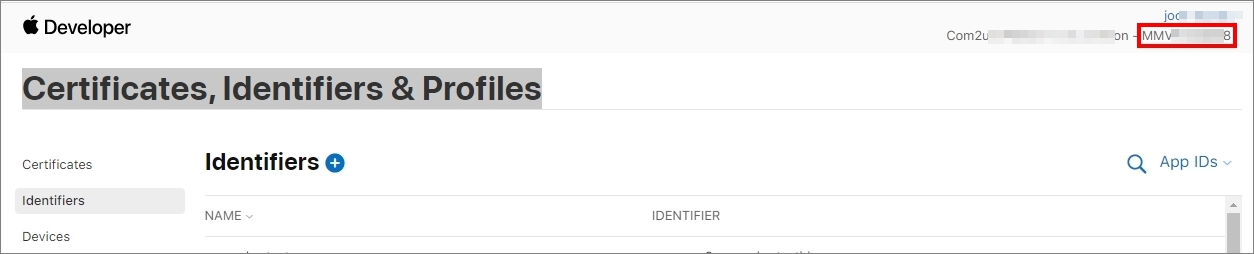
Confirm the TeamId on the top-right of Account > Certificates, Identifiers & Profiles page.
-
Click Account > Certificates, Identifiers & Profiles > Identifiers on the Apple Developers menu and click the
button.

-
On the Register a new identifiers page, select Services IDs and click Continue.

-
On the Register a Services ID page, fill in the Description field (such as an app title) and Identifier field. Then, click Continue.
- In the Identifier field, enter an easy-to-recognize identifier which is added characters to the bundle ID, such as {Bundle ID}.siwa.
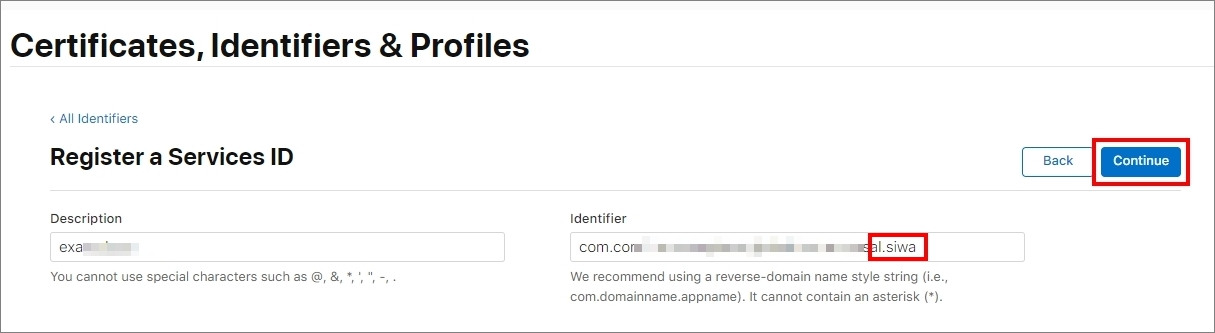
- Click Register to complete registering Services ID.
-
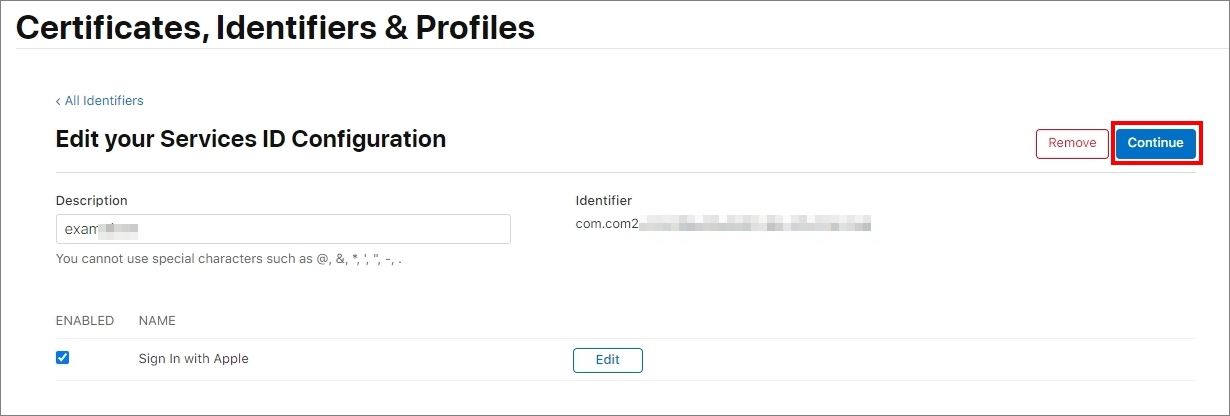
Click Services IDs you registered and select Sign in with Apple on the Edit your Services ID Configuration page. Them click Configure.

-
On the Web Authentication Configuration window, select an app Id from Primary App ID that you want to use Sign in with Apple. If you’re applying Sign in with Apple to the Windows platform, fill each field of Website URLs as follows.
- Domains and Subdomains: withhive.com
- Return URLs: https://www.withhive.com
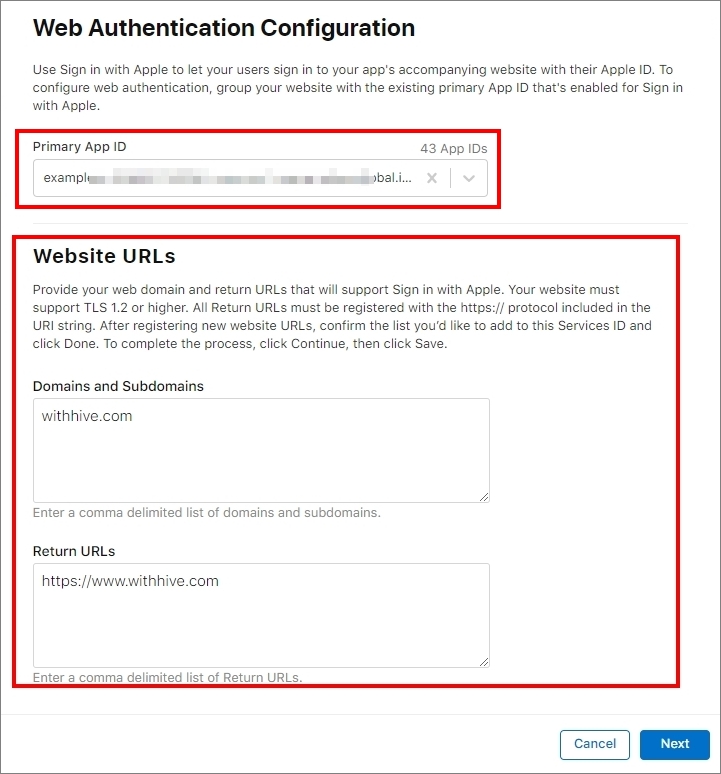
- Click Next.
-
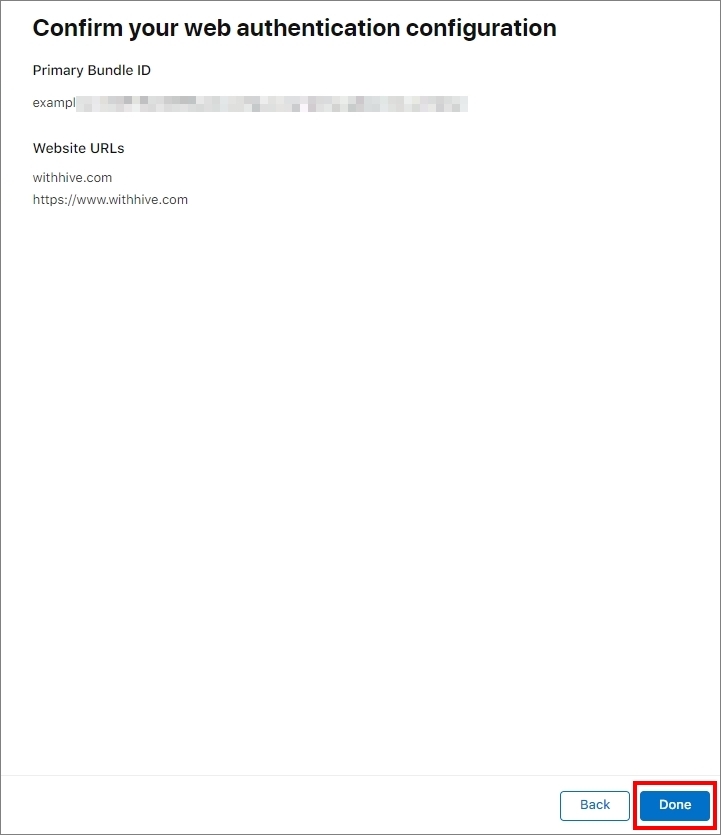
Confirm your configuration on the Confirm your web authentication configuration page and click Done.
-
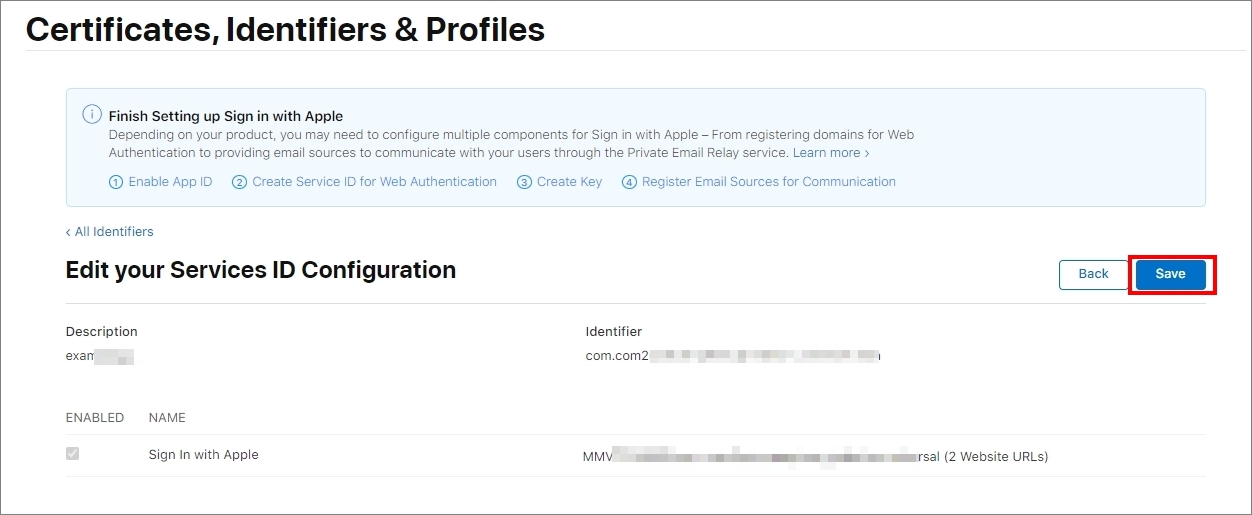
On the Edit your Services ID Configuration, click Continue > Save to complete Sign in with Apple setup.
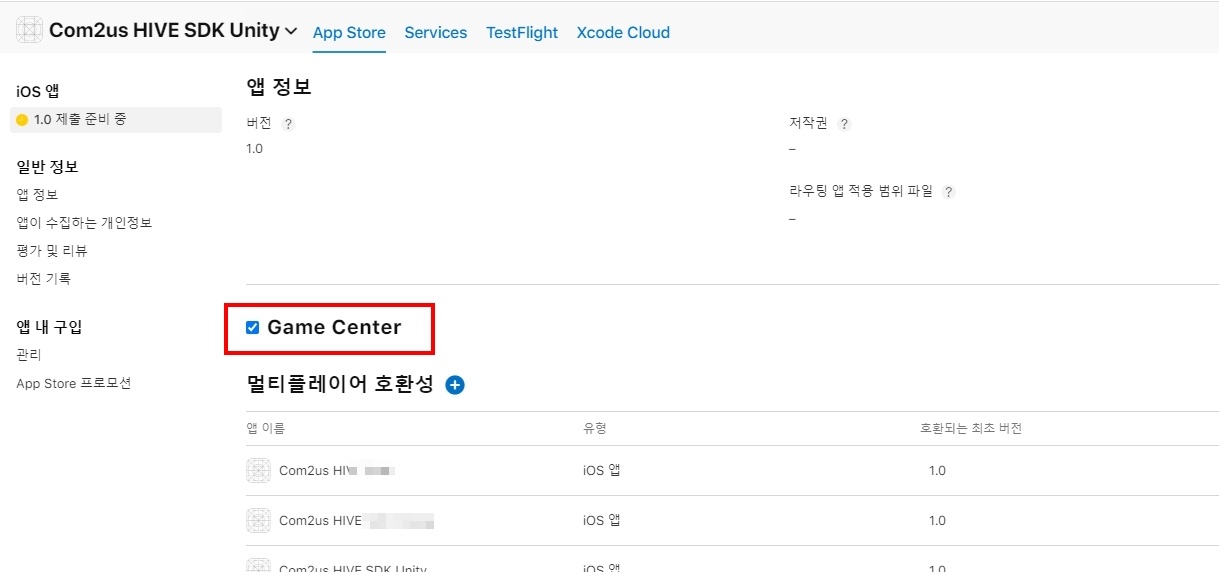
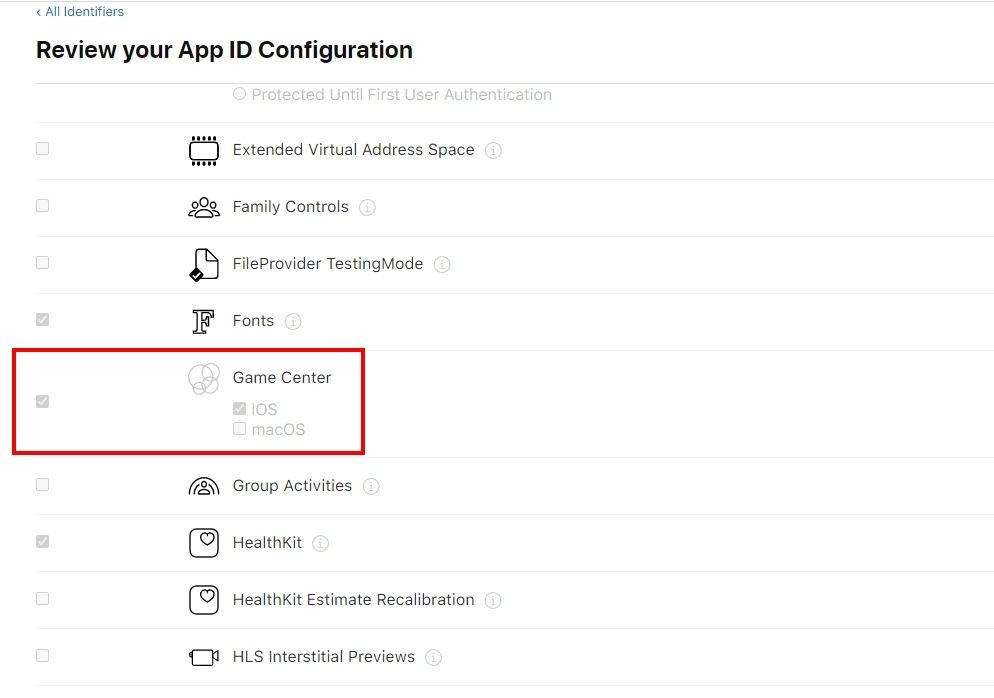
Enabling Game Center
To enable Game Center, Apple‘s gaming network, follow the procedures below on Apple Developers.
- Go to the Apple Developers > Certificates, Identifiers & Profiles > Identifiers and sign in.
- Click your project’s App IDs and check and select Game Center on the Capabilities list.
- Go to the App Store Connect and sign in.
- Click your project on the App menu and select Game Center on the App Store page.