Targeting
Provides backoffice so that you can proceed with targeting push and promotion campaigns to users created with segment.
Targeting Campaign
- Targeting Campaign refers to the campaign proceeded by using a specific segment that’s created previously or using other Hive products to snapshot users.
- You can proceed the targeting campaign with segments and snapshot.
- For the targeting campaign proceeded using a segment, the system will automatically extract users 5 hours 30 minutes before the campaign starts. (Campaign settings required at least 6 hours before)
- For the targeting campaign proceeded using a snapshot, the campaign will be proceeded with the corresponding user list only.
- For targeting campaigns proceeded during a certain period of time, the system will automatically extract and provide the latest target user data once a day. However, it’s only possible if you’re proceeding the targeting campaign with segments, and if you’re proceeding with snapshot, the targeting campaign will proceed exclusively for snapshot target users.
- Products with which you can proceed targeting campaign
- Hive Promotion: Normal banner, interstitial banner, spot banner, cross normal banner, cross interstitial banner
- Hive Notification: Targeting (Android/DID), Targeting(iOS/DID), Targeting (VID)
- Targeting Campaignable Products
- Hive Promotion: Normal Banner, Interstitial Banner, Spot Banner, Cross Normal Banner, Cross Interstitial Banner
- Hive Notification: Push V4, Targeting (Android/DID), Targeting (iOS/DID), Targeting (VID)
- You won’t be able to use the previous Hive targeting (issuing targeting code, data upload) backoffice as the corresponding targeting system opens. To use the previous user list, please use the segment’s CSV file upload.
Registering a Targeting Campaign
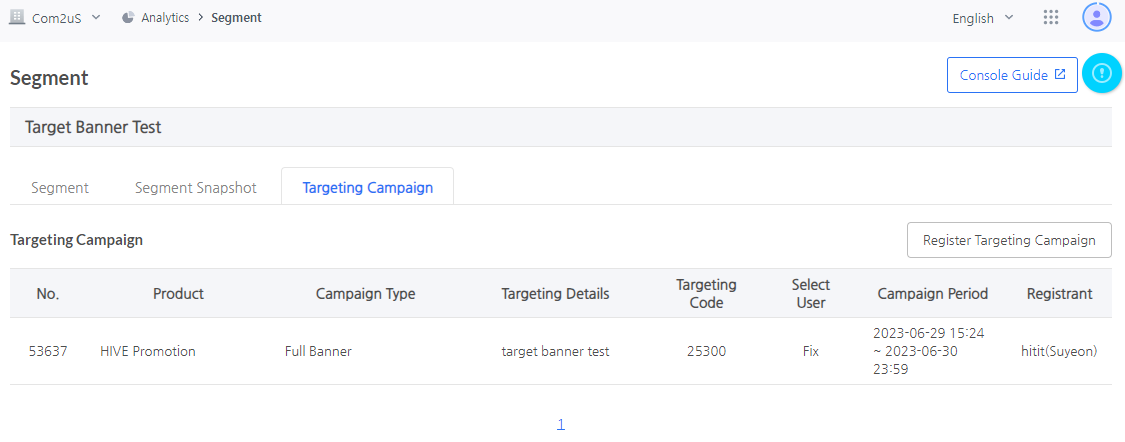
- Backoffice Route: Analytics > Segment > Select Game > Select Segment > Targeting Tab
- How to register a targeting campaign
- Select a segment to proceed the targeting campaign with.
- Go to the Targeting Campaign Tab and previously registered campaigns will be exposed. Click on the Targeting Campaign and you’ll be able to view snapshots created by the schedule and also download them in CSV format.
- For new registration, click on the Register Targeting Campaign Button and the format for new registration will be exposed as follows.
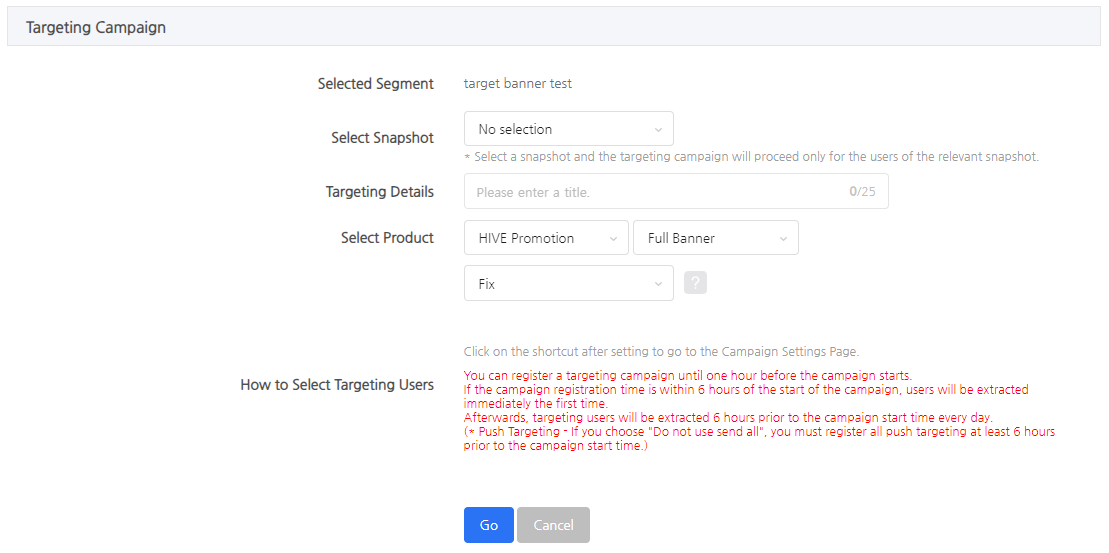
- Select a snapshot of your choice. The corresponding user of the segment will be automatically extracted if you don’t select. The moment that the users are extracted is 5 hours 30 minutes before the campaign starts. For instance, if you set up the campaign so that the targeting push or promotion starts at 6pm, the system will start extracting the users at 12:30pm.
- Enter the description that defines the corresponding targeting.
- Select a product and the type of the campaign that you want to proceed with.
- Select a targeting user selection method.
- Targeting user selection method becomes the condition that is used to extract users from the system when proceeding targeting with segments. (For details, click on the [?] Button.)
- Since a user list already exists when proceeding with snapshot, you can only proceed with “Fixed”.
Targeting – Hive Notification Push V4
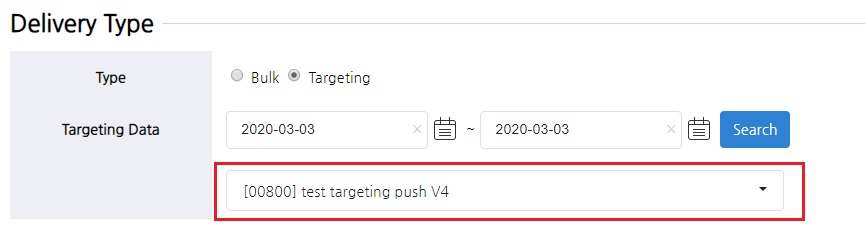
- Select Hive Notification -> Register Push V4 Campaign and click GO Button to be redirected to the Hive Notification Campaign registration page.
- Delivery Type -> You can see the targeting code/ targeting name you set being selected in the targeting data field.
- Push Campaign Settings (Reference: https://developers.withhive.com/operation/notification/push-v4/campaign_list/campaign_register/)
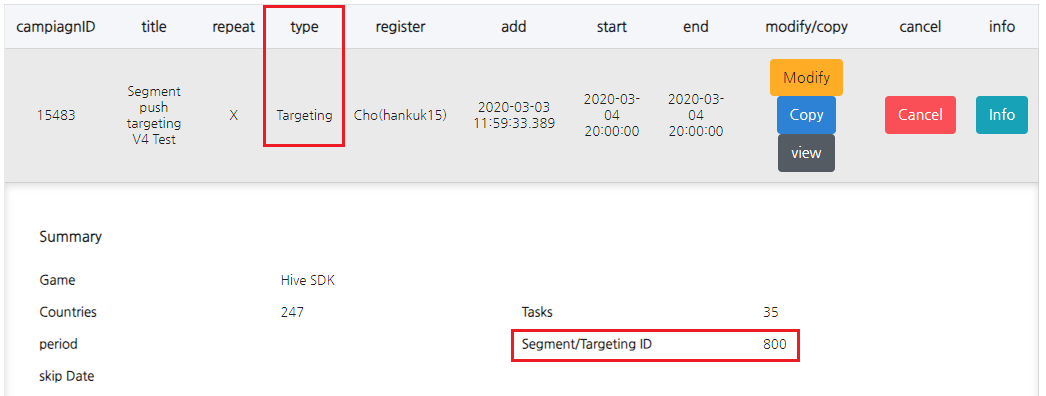
- Ensure that campaign is set up as targeting after campaign setup is completed.
Targeting – Hive Promotion
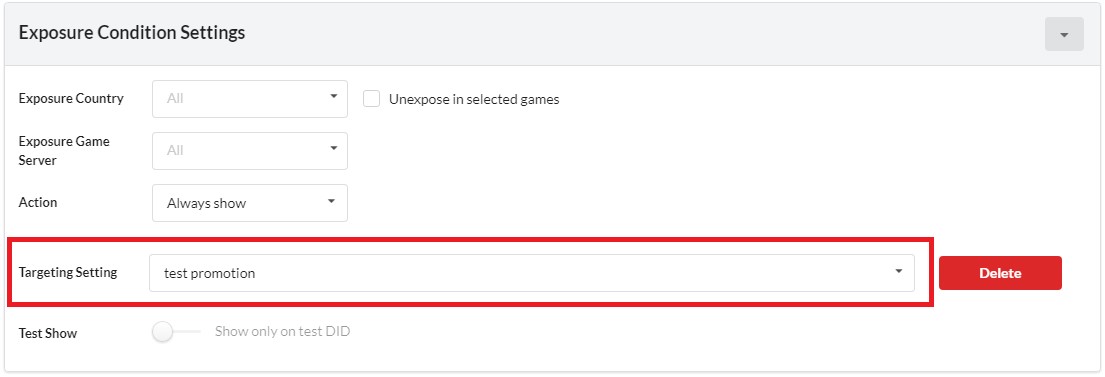
- If you click on the shortcut after selecting a Hive promotion, you’ll be moved to the backoffice where you can register promotion campaigns.
- The targeting description will be exposed on the corresponding campaign’s targeting settings.
- Once you finish registering the campaign, you’ll be able to see that the campaign which contains targeting code has been created on the campaign list as follows.
Note : Targeting works on an account basis.
