The game needs to be registered first to register a new AppID. Click here to check game registration and management.
Registering an AppID
- You can register AppIDs at the Game Management or AppID Management. Click “Register new AppID” button in the AppID tab or “Register new AppID” button on the AppID list to move to the corresponding page.

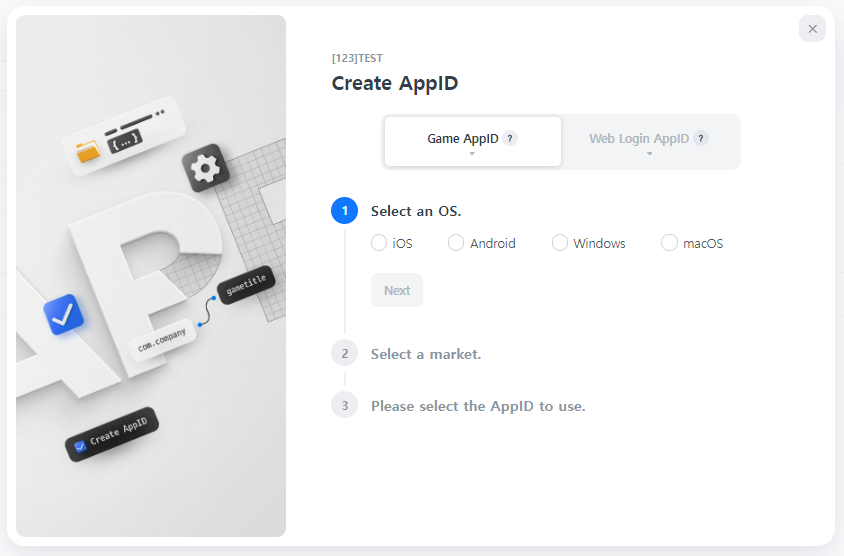
- AppIDs are divided into two categories based on their purpose. Choose “Game AppID” when adding an AppID for a game.
- Choose the app’s OS for the AppID you are creating.
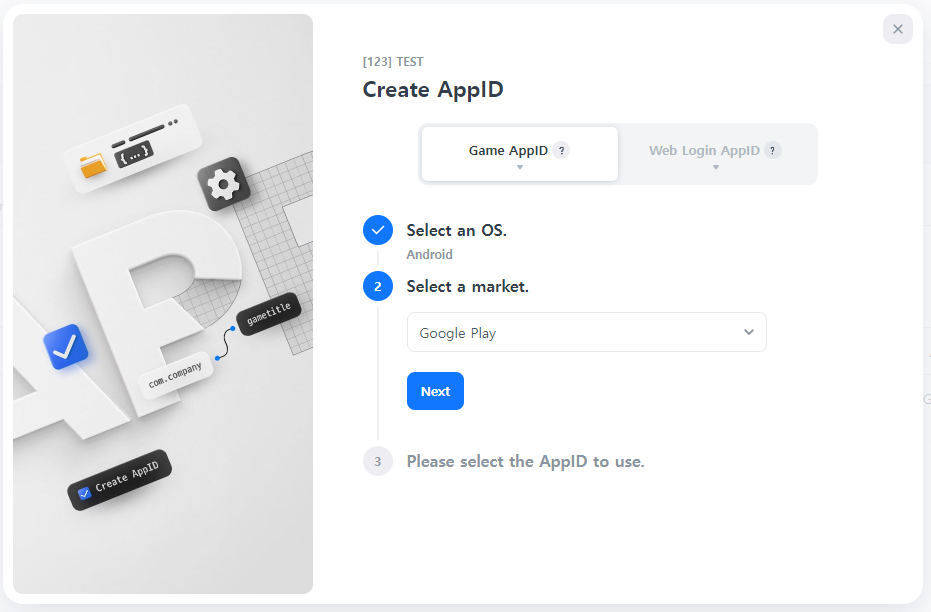
- Choose the market where the app will be registered. They cannot be changed after the AppID is created.
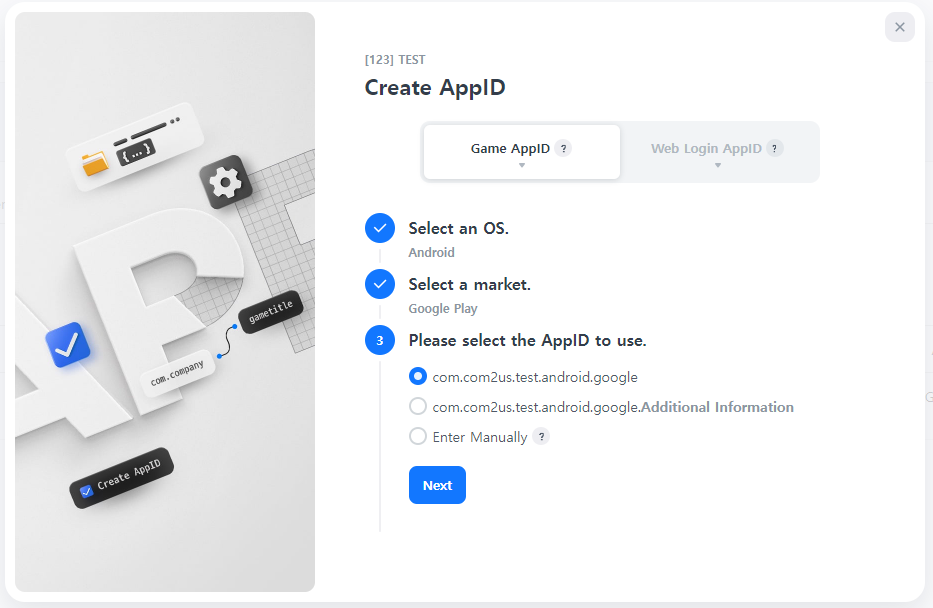
- Lastly, Choose the desired AppID. The AppID name will be recommended according to the chosen options.
If a separate distinction for AppIDs is needed, you can input additional information after the automatically generated AppID. Furthermore, if the market does not allow the provided AppID format, you can directly input your desired AppID name.
When entering AppID directly, only English letters or numbers can be used, and a dot (.) should be entered to separate each item. There are no specific formatting requirements, and the input is case-insensitive, so you can freely enter the AppID.
- Choose the app’s OS for the AppID you are creating.
- AppIDs for web login usage, specifically for non-game web login purposes, can be created in the “Web Login AppID” tab.
- Choose the web login purpose.
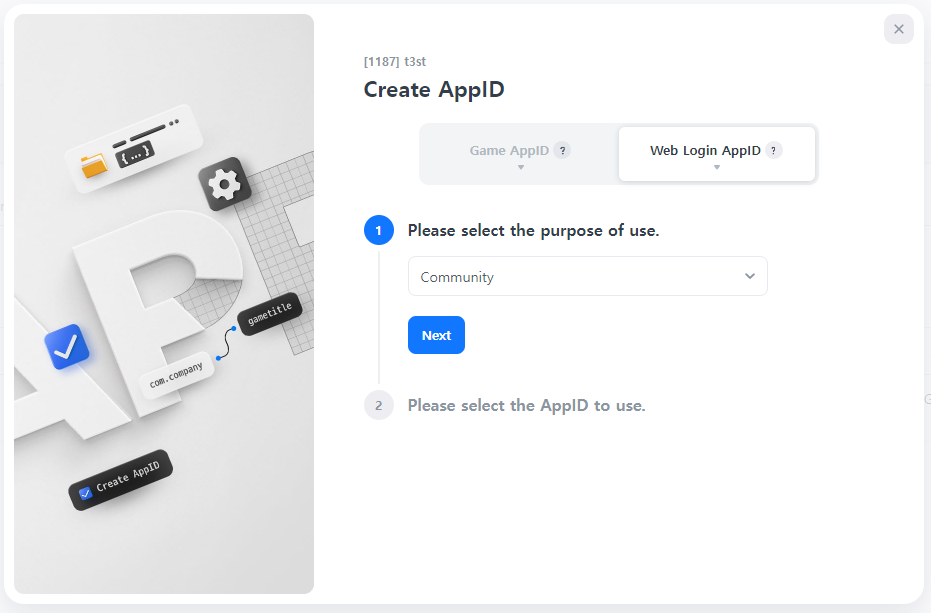
- Select the AppID you want to create. If there are identical App IDs, a number will be added after the App ID for differentiation.
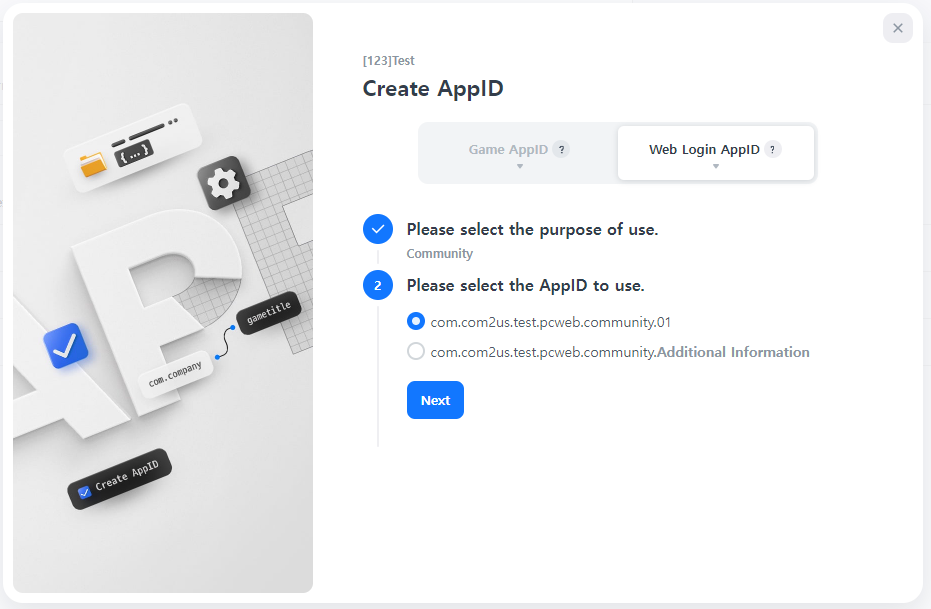
- Choose the web login purpose.
Managing registered AppIDs
Click on AppIDs on the list to view details per category.
Basic Information
The basic information of the connected game information and registered AppID.
1) Game Information

- View at game management: You’ll be directed to the details page of the game.
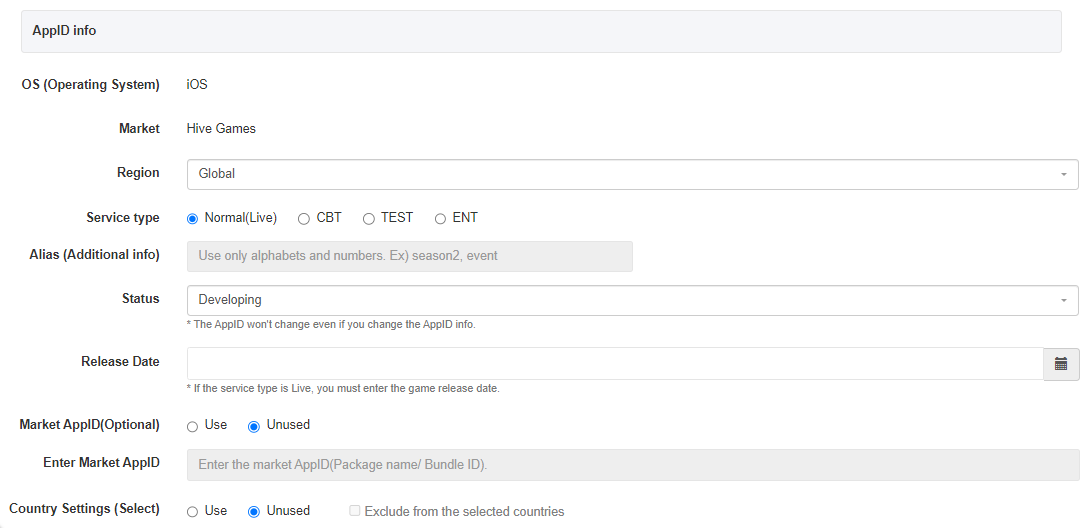
2) AppID Information
You can change the registered AppID info and status. The AppID won’t be changed even if you change the information. The status will be set as “Under development” once created for the first time. You can change the value according to the AppID service status. The option you select when you register an AppID is a feature provided for convenience to generate names automatically, and the service is not limited by regions. For example, you may choose “global” for an app that’s serviced only in Korea.
- You can set different status per AppID. The game status will be applied in the order of the following based on the AppID status.
- Live> Under Development> Terminated> Unused
- Live: An AppID currently being serviced. The game status will also be set as Live if at least one AppID is Live.
- Under Development: An AppID that’s currently under development. The game status will be set as Under Development (top category) if there are all 3 AppID status (Under Development/Terminated/Unused) except Live status. If there’s a Live AppID, the game status will be set as Live.
- Terminated: An AppID that’s no longer being serviced. The game status will also be set as Terminated if all AppIDs are Terminated.
- Unused: An AppID that’s no longer being used. The game status will also be set as Unused if all AppIDs are Unused.
- Market AppID: The Hive AppID and the market AppID (Package Name/ Bundle ID) must be the same by default. If you need to set the AppIDs differently, click the Use Market AppID checkbox and enter the package name/ bundle ID actually being used at the market additionally.
- Country settings (optional): Countries can be set so AppID can only be used in specific countries. Default value is Disabled. If you set country settings for AppIDs for each market, all AppIDs in the game must have country settings.
- Multiple countries can be selected.
- If you check “Exclude from the selected countries”, it will be applied to all countries except the selected country.
- Regardless of the number of AppIDs, the same number of countries applied and excluded must exist, and there must be no duplicate countries.
[Example when registering 3 Android Market AppIDs in a Game]
-
- Android AppID1 Applicable Country: South Korea

-
- Android AppID2 Applicable Country: Japan

-
- Android AppID3 Excluded Countries: South Korea, Japan

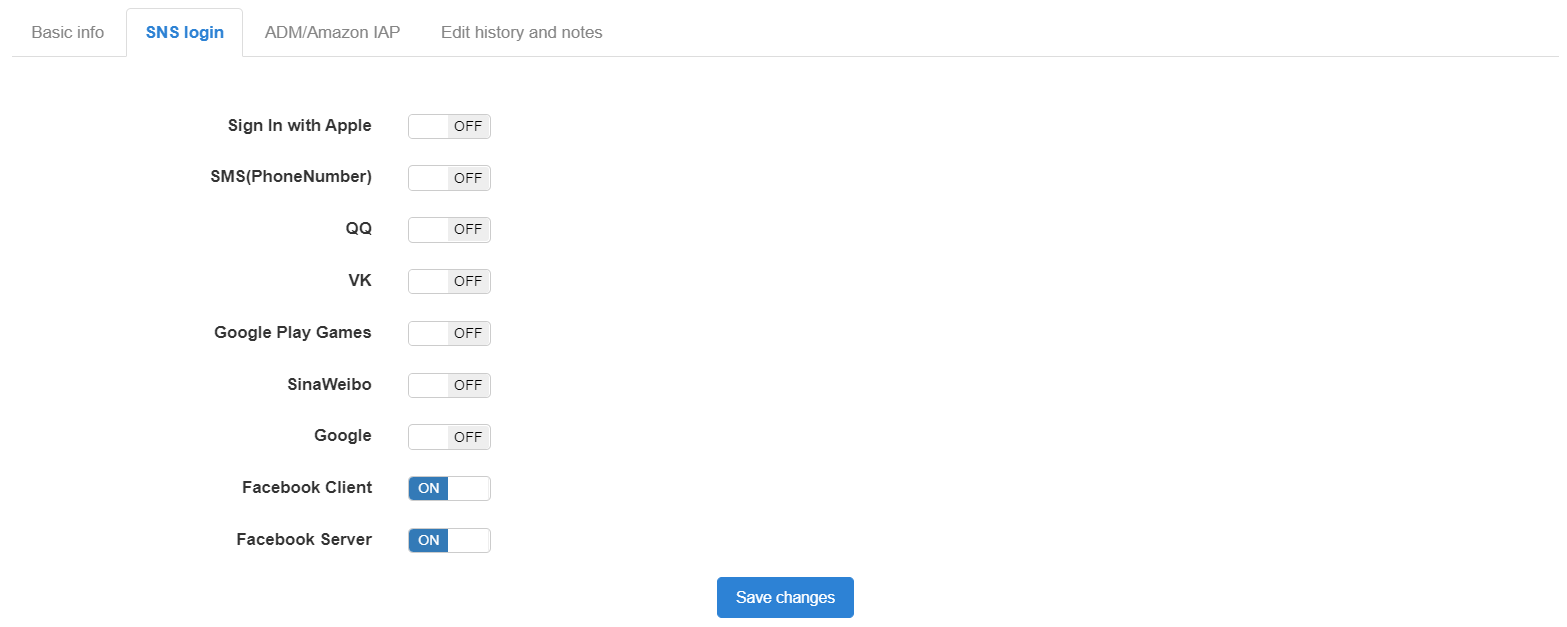
Auth v1 SNS Login
SNS login settings form will be exposed according to the Hive authentication version that has been set up upon game registration.
You can turn ON/OFF the SNS login type to use. You must keep in mind the following when activating SNS.
- For Facebook and Google, you must turn ON the category after you’ve completed the login work in the game client. For others, such as QQ, Weibo, VK, and Chinese SMS, you can turn them ON regardless of the game client works.
- For Facebook, only the Facebook Client is activated.
- To use the Google Play Game login, you must enter the Google AoP (Android on PC) sync information.
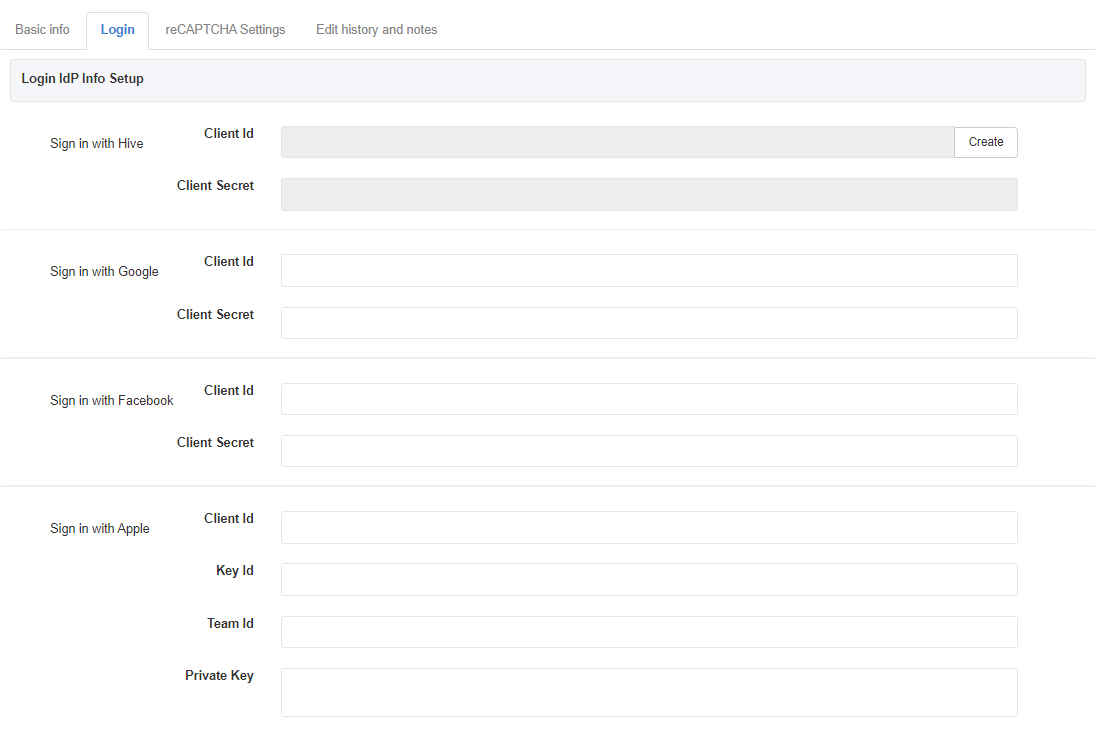
Auth v4 IdP Login
The operating system entered in the basic information makes login setting information accessible.
- Game
- Android: 14 IdP login settings are available in total.
- iOS: 13 IdP login settings are available in total.(The “Sign in with Google Play” is not supported.)
- Windows, MacOS: Support Hive, Google, Facebook, and Apple IdP login.
- Web Login
- Supports Hive, Google, Facebook, and Apple IdP login. Sign in with Hive can be used after clicking the Create button and issuing the key.
To use IdP(Identity provider), you must enter a key issued by the IDP you want to use and enable the IdP. Please check the information below for the key registration location.
To issue a login key, please refer to the Getting Started > Store Key Issue and Register Menu.
You can select an IDP type to use and change the exposure order. You can drag and drop to change the order regarding the boxes in the IDP area you use.
It is recommended to set the IdP in the order of Google Play Games or Apple Game Center, Hive Membership, 3rd Parties (Sign in with Apple, Facebook, WeChat, etc.) and Guest Login.
If the IDPs exposed per country are different, please specify the order considering how all IDPs are exposed. In the example screen below, Apple Game Center – Hive Membership – WeChat – QQ – Sign in with Apple – Guest are displayed in order in China, and Apple Game Center(iOS) – Google Play Game/Google – Hive Membership – Sign in with Apple -Facebook – Guest are displayed in order for countries that do not use Chinese SNS.
You can set up the sandbox and commercial server configurations differently, so if you add an IdP, you can check it in the sandbox in advance.
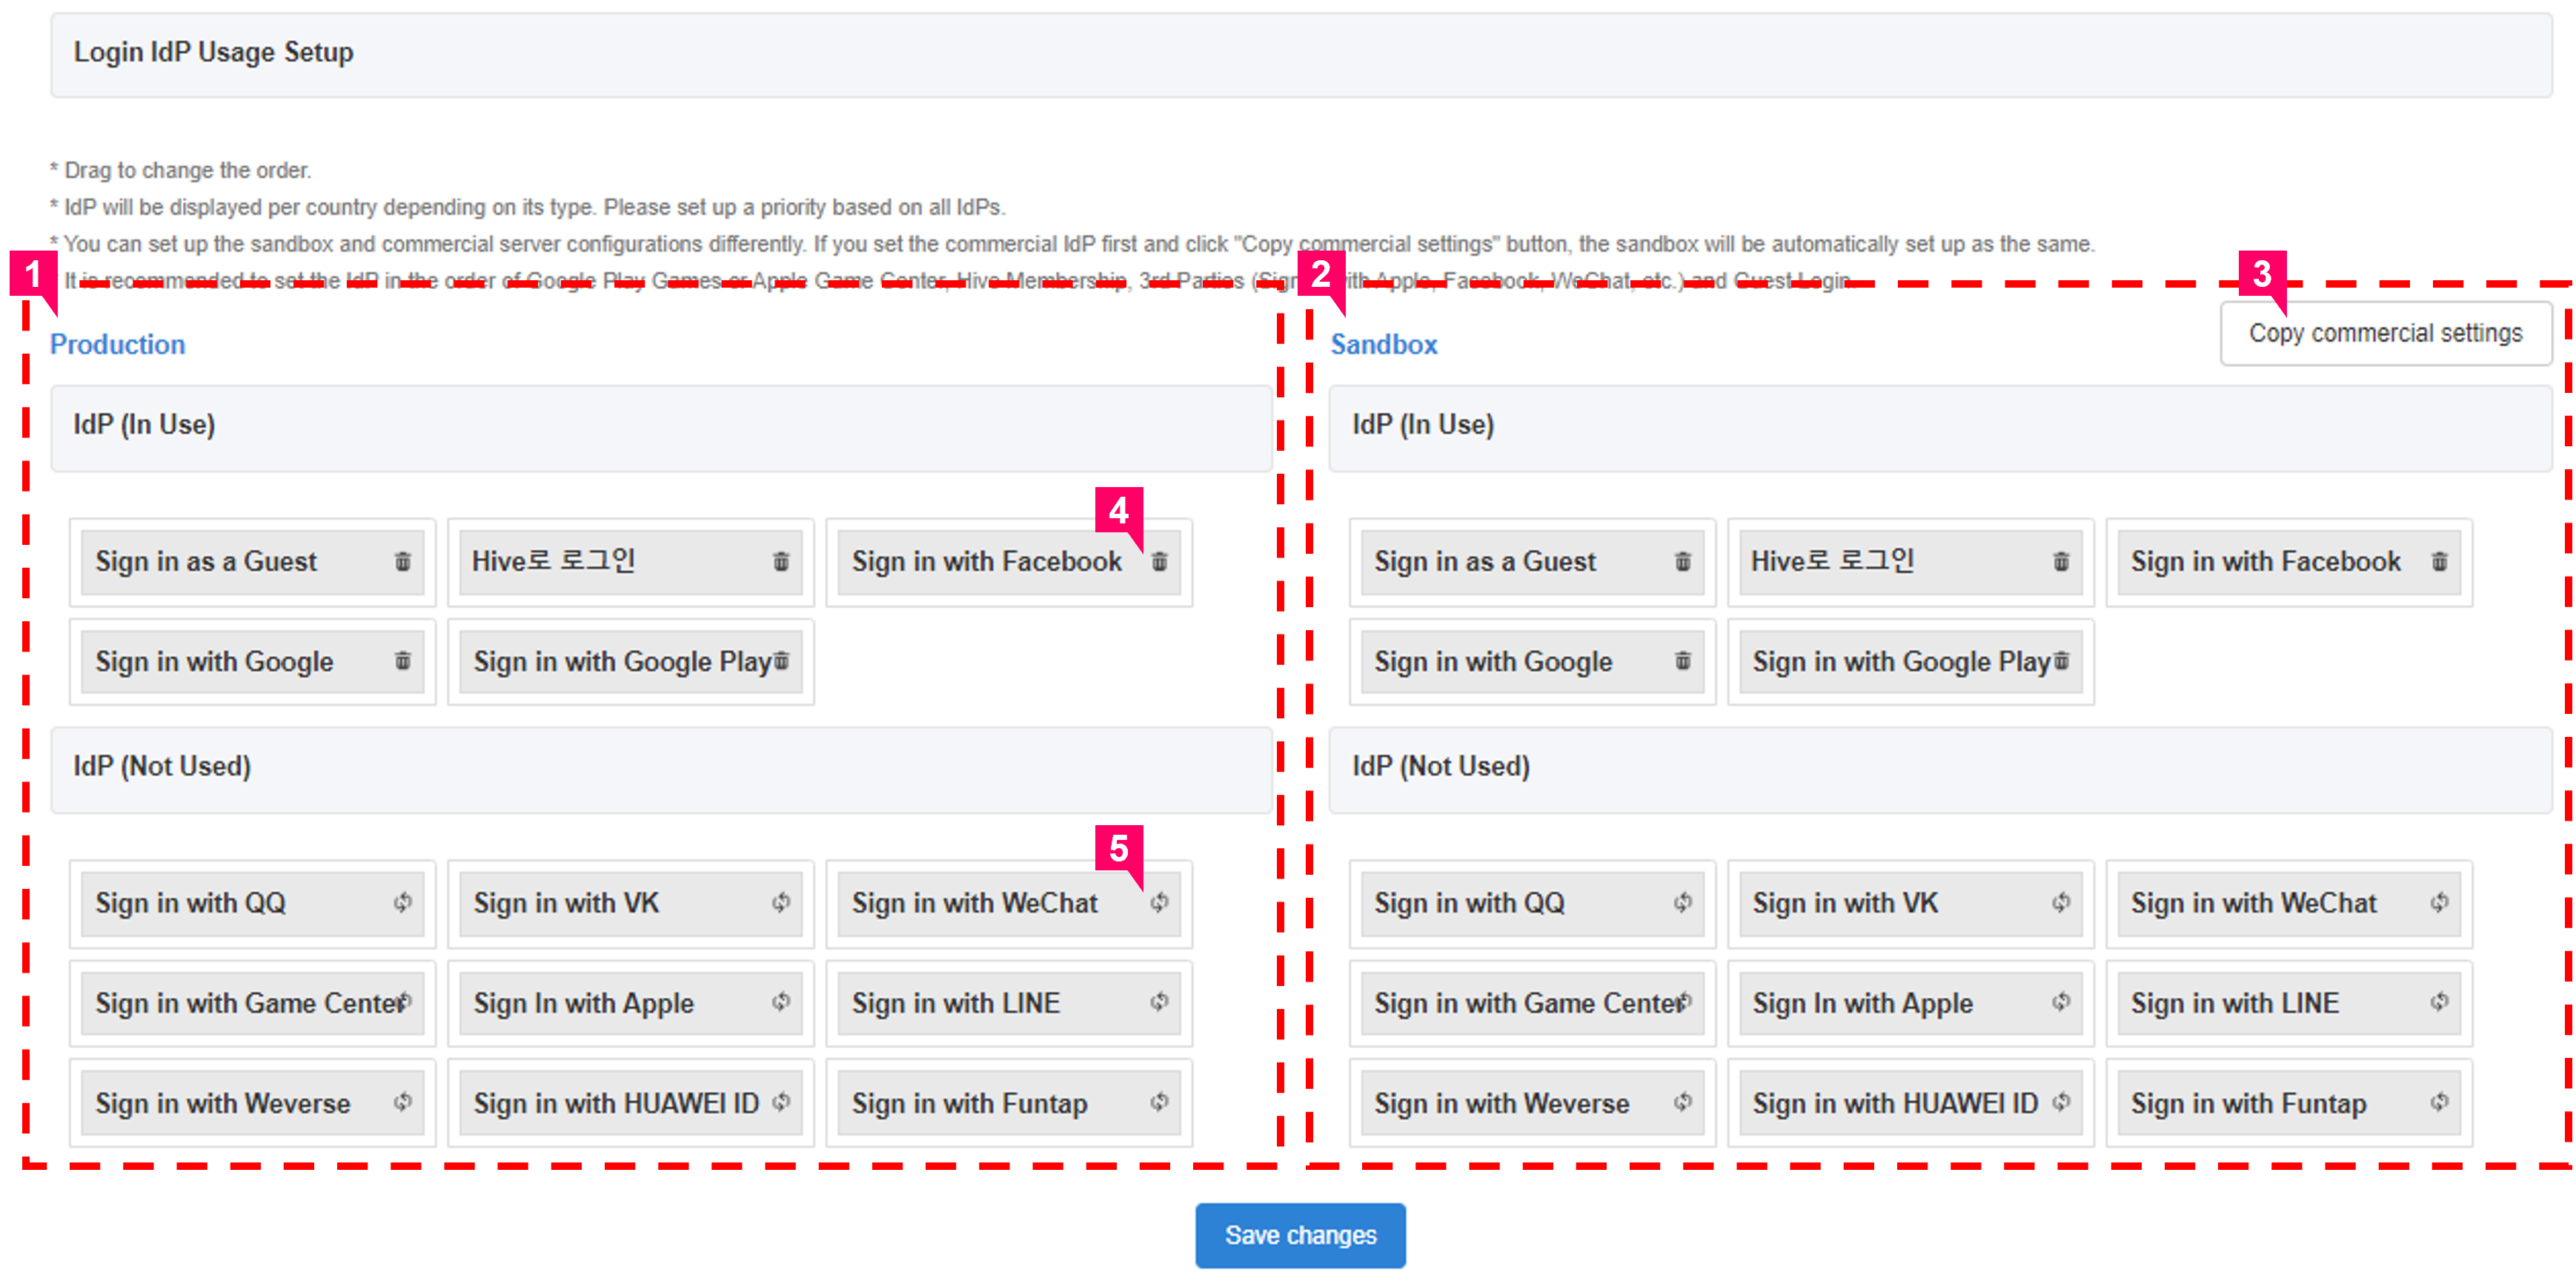
① Production Server: Set up the IDP list to be applied to the commercial game. Will be applied immediately when you save.
② Sandbox: You can set up at the sandbox in advance to test if an IDP is added.
③ Copy commercial settings: A feature where you can apply the details set up in the production server to the sandbox.
④ Click to delete IDP.
⑤ Click to add IDP.

For web login, you must choose whether to use membership sign up and enter the Redirect URI. Please enter the page address you want to return to after logging in. Up to five can be entered, and you must additionally provide the sandbox Redirect URI when testing in the sandbox.
Guest Login reCAPTCHA
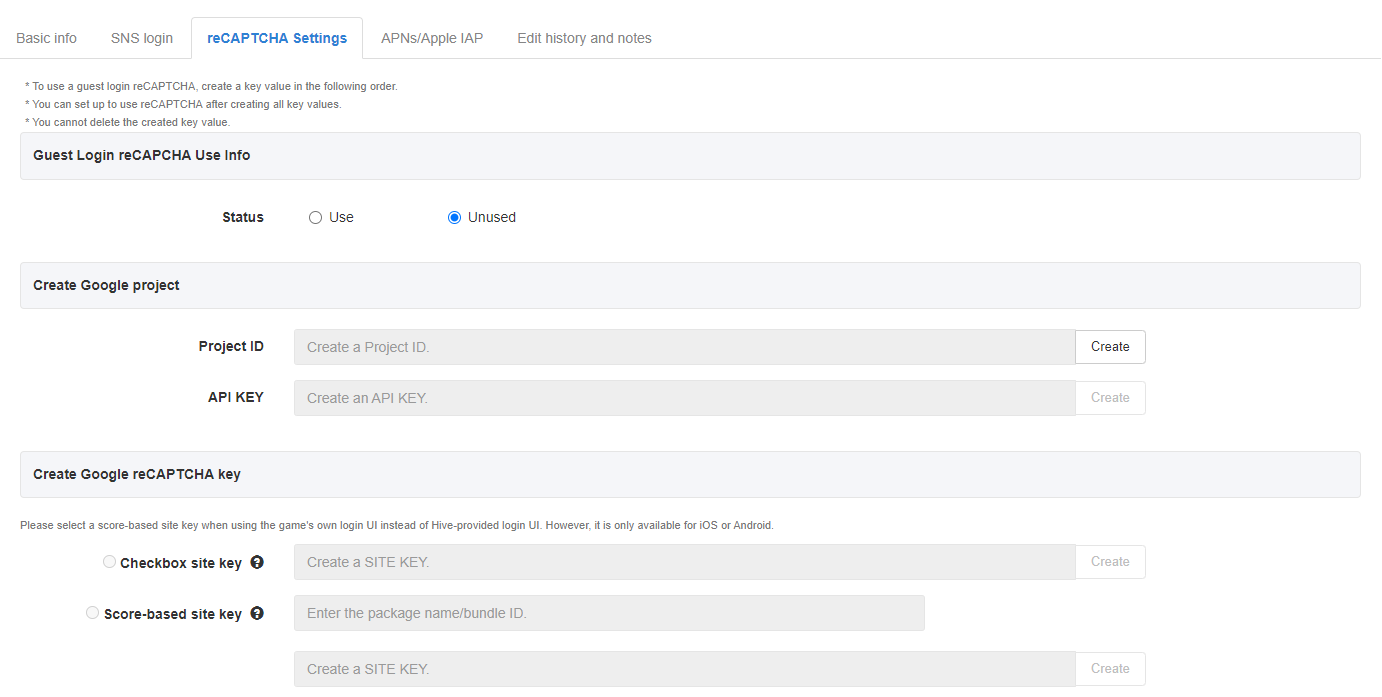
1) Guest Login reCAPTCHA Use Info
When logging in as a guest, Google reCAPTCHA is used to determine whether a user is a robot and to prevent the creation of guest accounts. The default value is marked as unused, and you must generate a Google key in order before enabling the function.
2) Create Google Project
You need to create one Project ID and one API KEY per game before creating a site key. If the key was issued by another AppID for the game, the created key will look the same. The key is not deleted once created.
3) Create Google reCAPTCHA Key
- Checkbox site key: By exposing Google’s reCAPTCHA checkbox UI in the guest account information pop-up, the user’s interaction is used to determine whether it’s a robot.
- Score-based site key: Determines whether it’s a robot based on the score provided by Google without user interaction.
- For more information about the types of reCAPTCHA provided by Google Enterprise, please visit here.
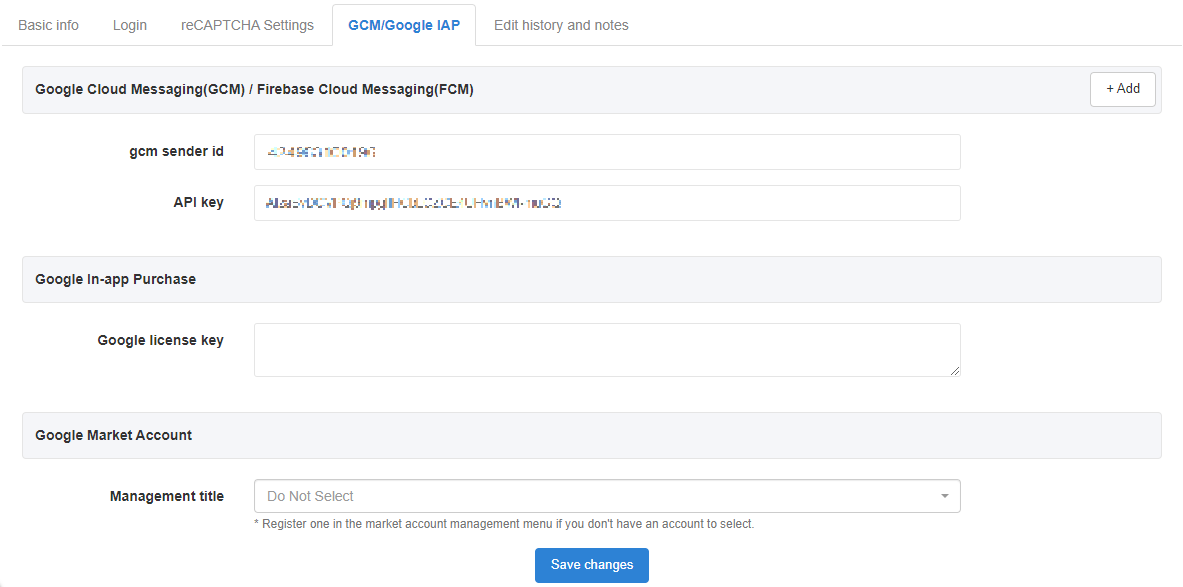
Registering License Key by Market
A license key registration page of the corresponding market will be exposed depending on the AppID.
1) GCM/Google IAP
Please refer to the AppCenter> Manage Market Accounts Menu for more info on the Google Market Account.
2) APNs Management
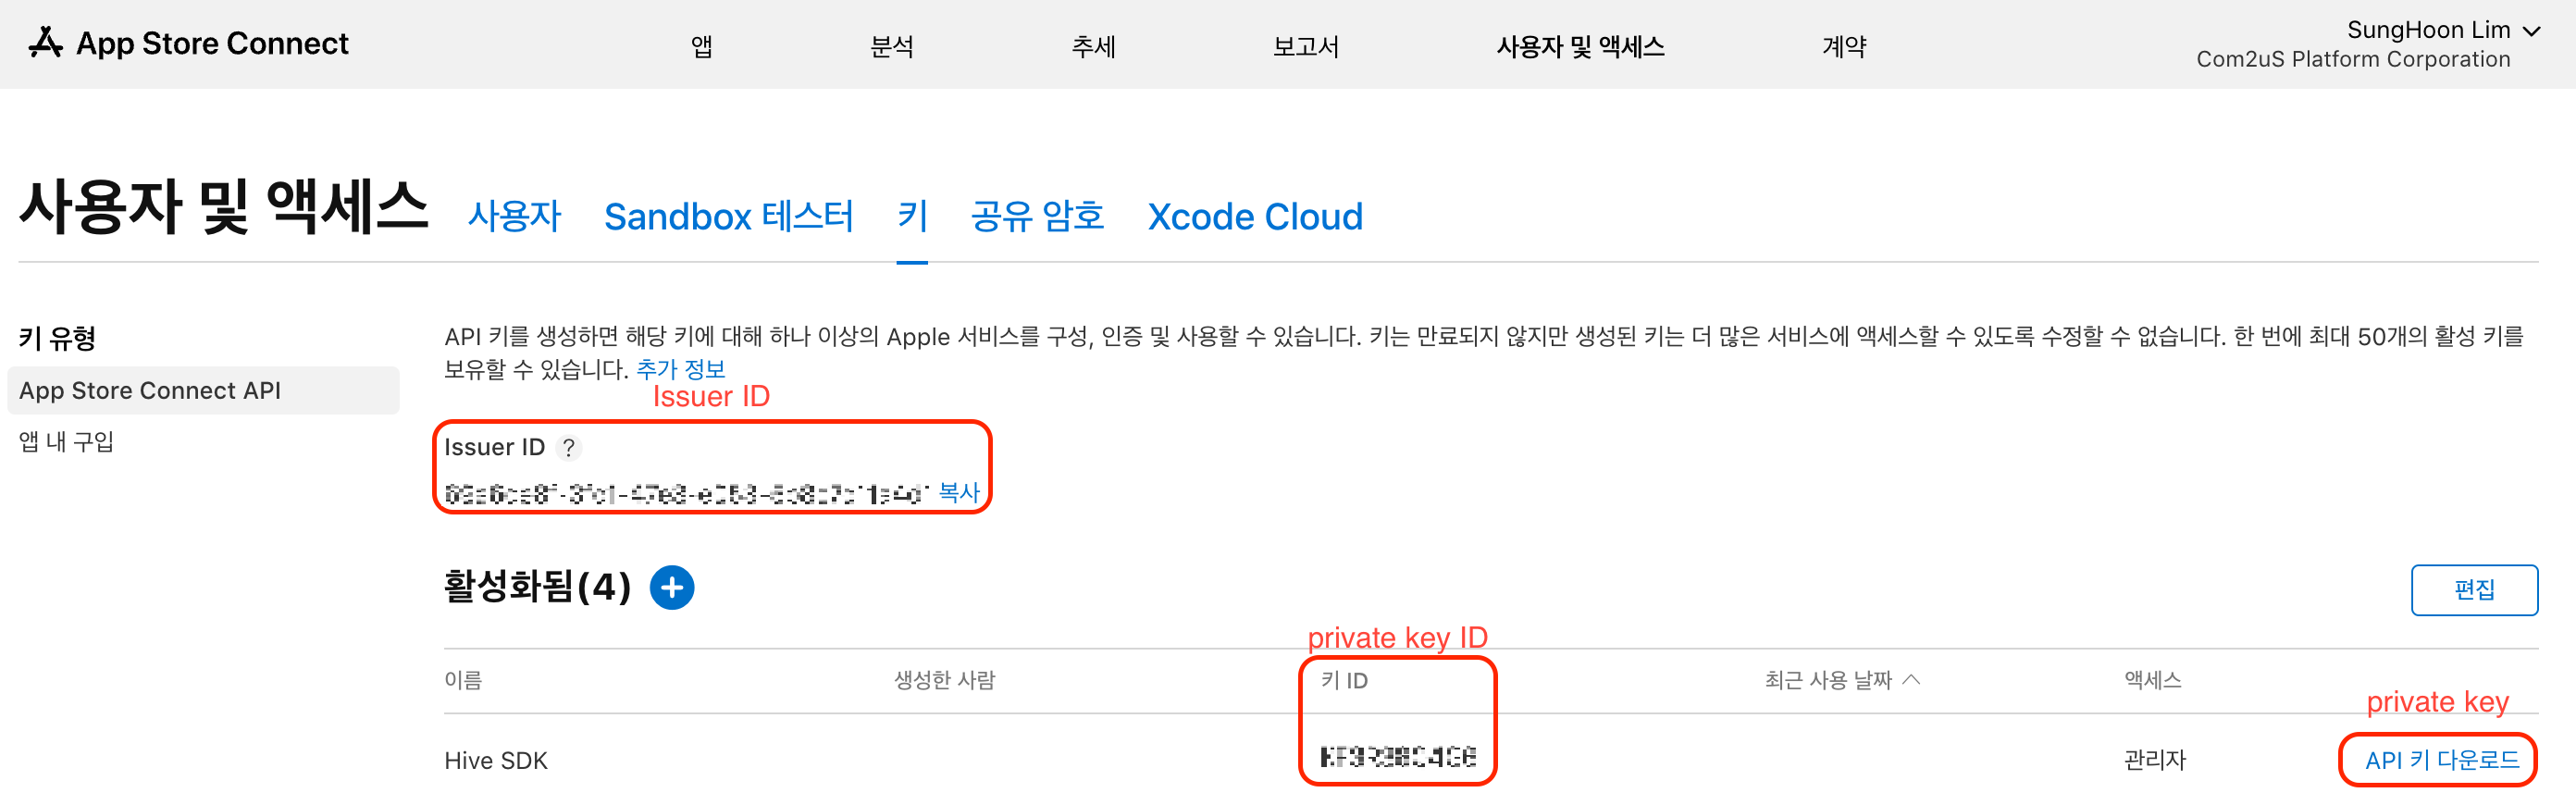
- App Store Connect (StoreKit2 settings): Supports StoreKit2 that can be used on iOS 15 or later from Hive SDKv4.16.0 or later. Private key, private key ID and issuer ID must be registered. When registering a private key, register the original string as it is.
- The key value for using Storekit2 can be found in the App Store Connect API in Users & Access > “Keys” category in the Apple Market Console.
- Apple Guide
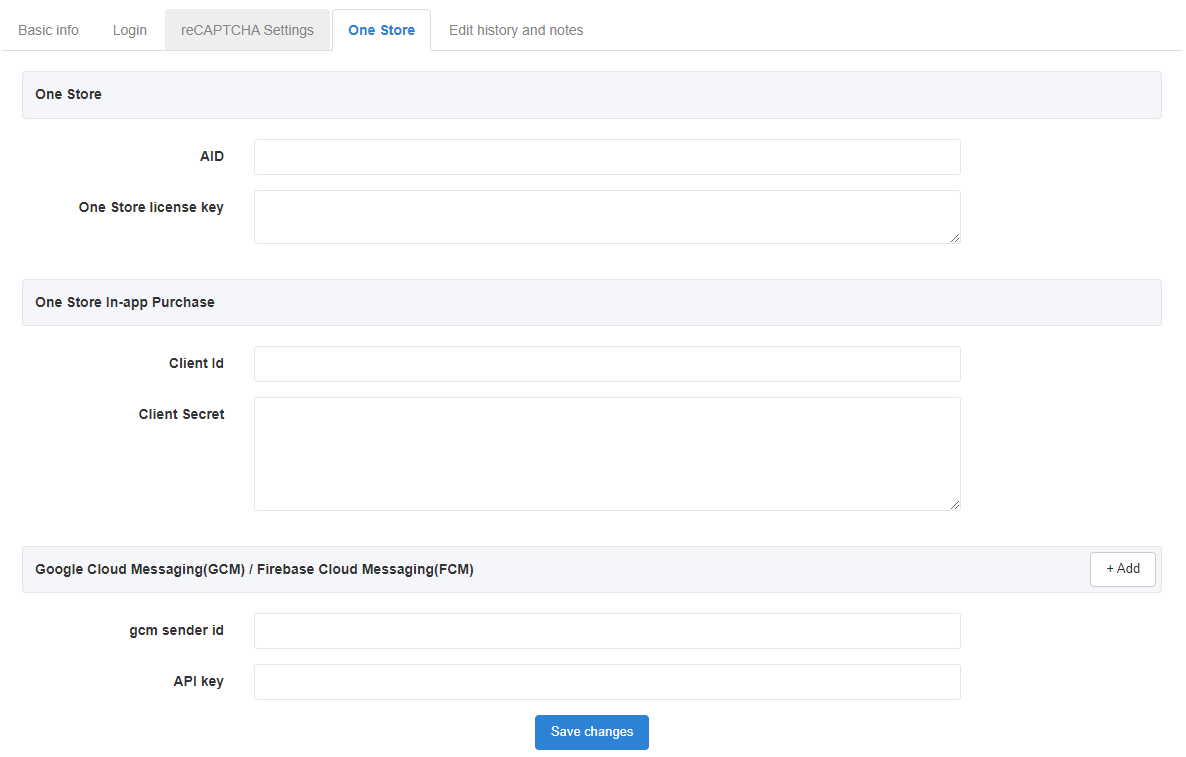
3) ONEstore
For ONEstore AppIDs, you’ll see the corresponding form. ONEstore license key is a ONEstore in-app purchase key that’s supported on Hive v1.17.0 or later/ v4.11.0 or later.
4) Amazon
For Amazon AppIDs, you’ll see the corresponding form.

5) Huawei
This is the input form displayed in AppID for Huawei.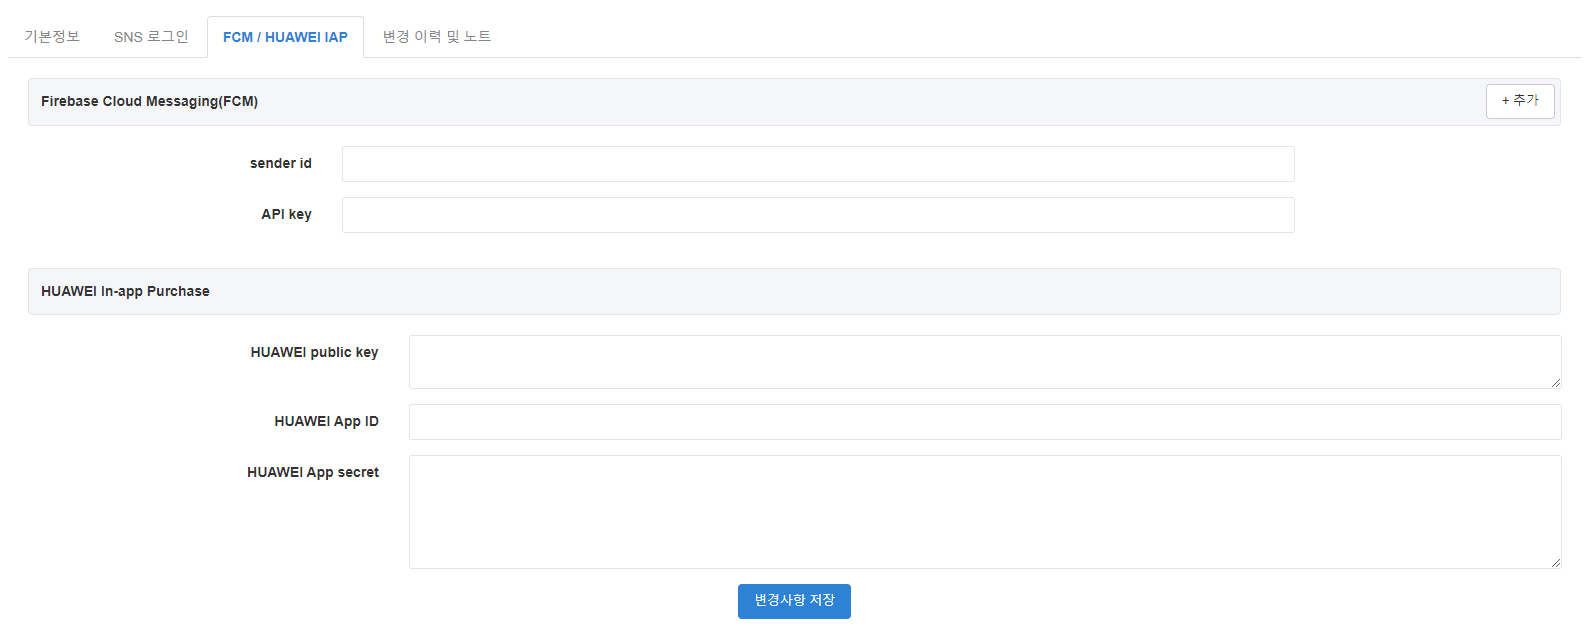
6) Xiaomi
This is the input form displayed in AppID for Xiaomi.
7) Oppo
This is the input form displayed in AppID for Oppo.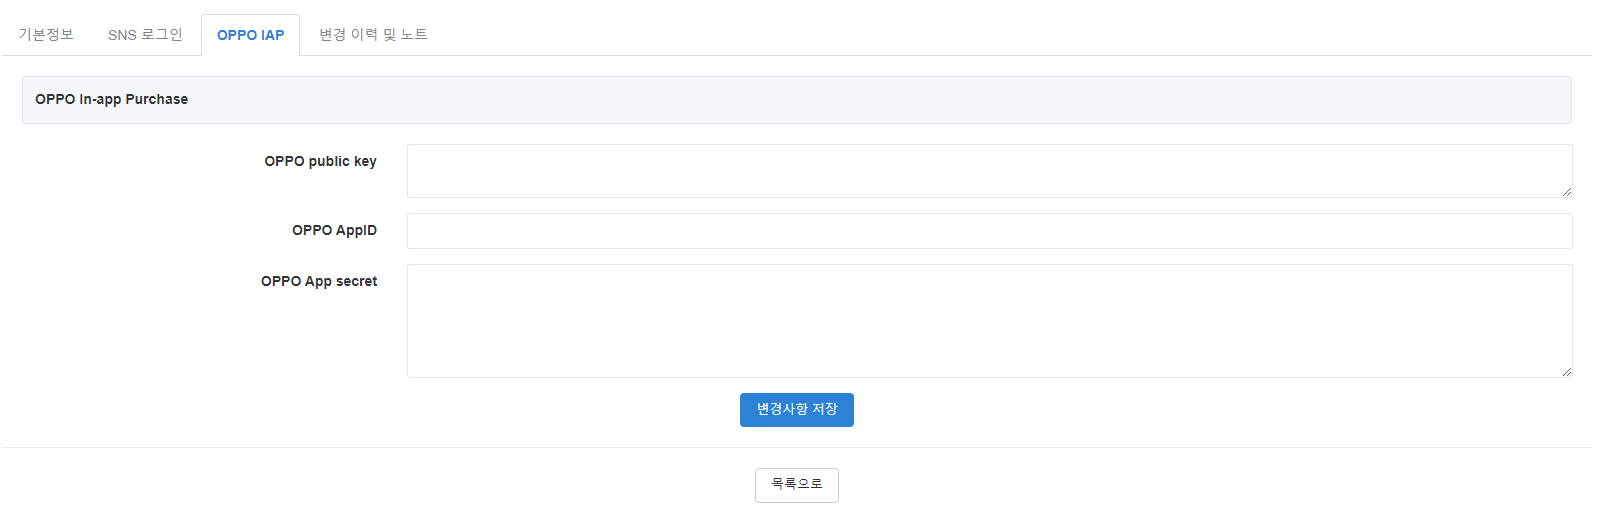
8) Vivo
This is the input form displayed in AppID for Vivo.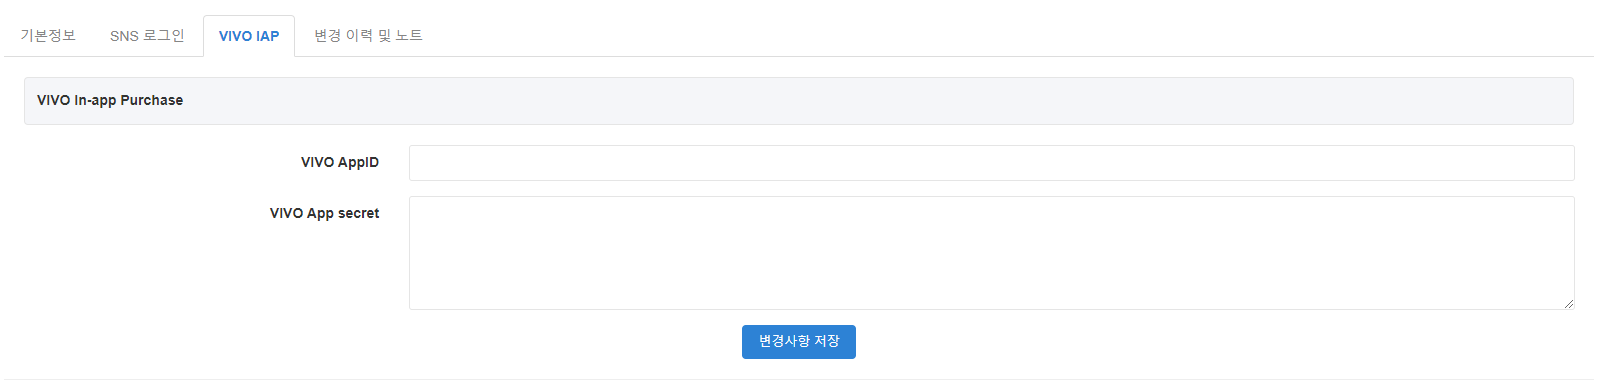
9) Facebook
This is the input form displayed when it is AppID for Facebook Cloud Game.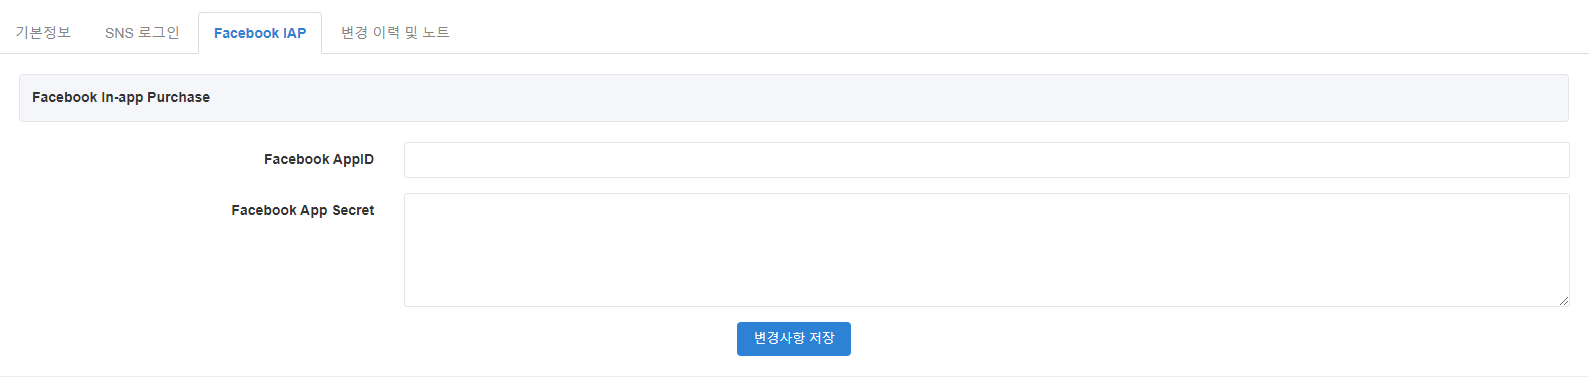
10) Galaxy Store
This is the input form displayed in AppID for Galaxy Store.
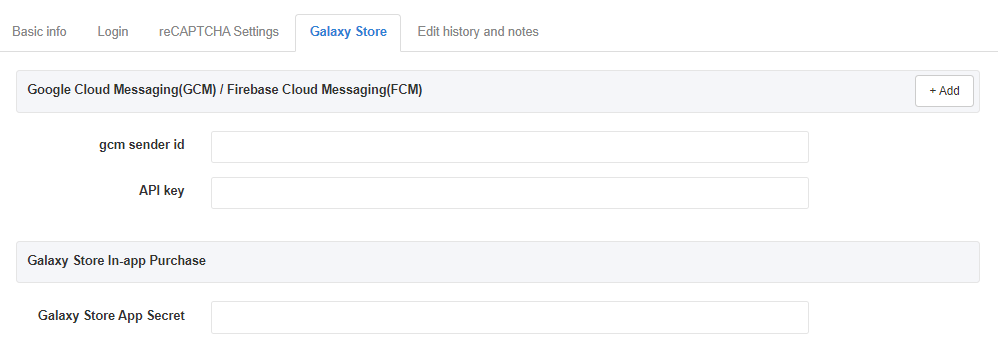
- Galaxy Store App Secret: Enter the seller DeepLink item on the seller page information in the Galaxy Store console when selling a subscription product.
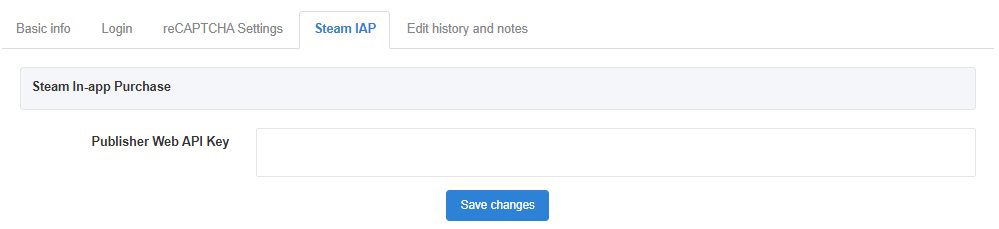
11) Steam
This is the input form displayed in AppID for Steam.
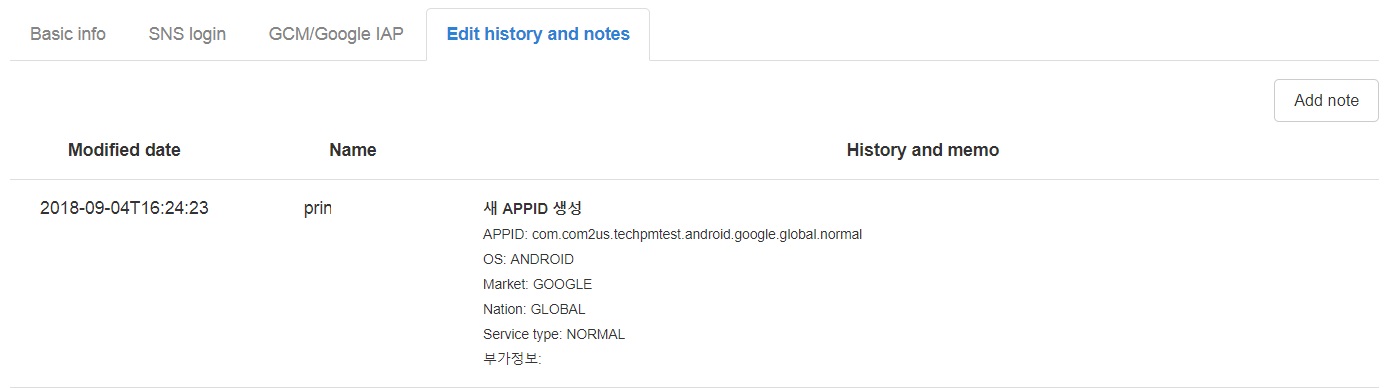
Edit History and Notes
A history will be automatically recorded when you change the AppID information. You can also add a note to enter the details manually. You can’t delete edit history or notes.