App management is a menu for version control of App update files.
Download Settings
When an update file is uploaded to CDN using an exclusive tool, it is automatically registered in the uploaded file list. Install or update to the previous version, change the version status from standby to review, and then update the game.
- Check for Crossplay Launcher errors during game update.
- Check whether the game works normally when starting the game.
- Compare the game pool client updated with the local Crossplay Launcher or winmerge tool (or any other tool) and the original full client (the one you have in your game studio).
- When installing a game, the most recent released version among the files being distributed is installed first, and then the version update proceeds in order.
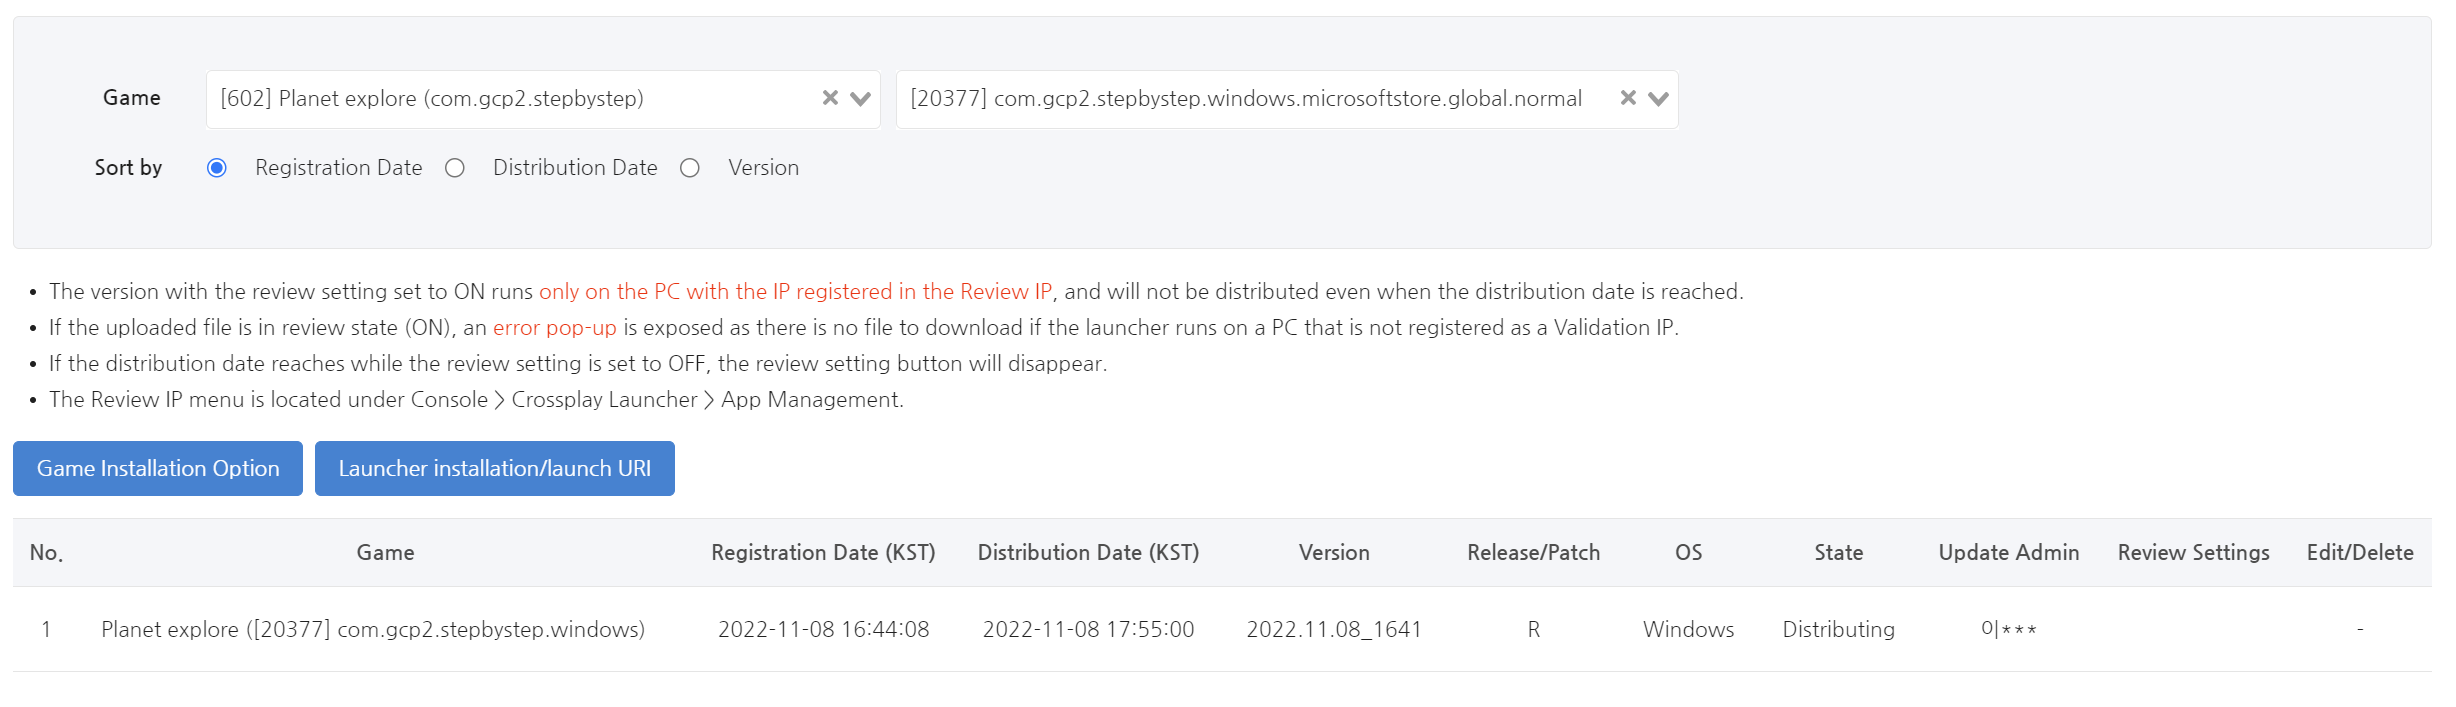
- Preparing to distribute: The distribution date is not set.
- Pending for Distribution: The distribution date has been set, but the distribution date has not yet been set.
- Distributing: The distribution start date has passed. If it is changed to distribution, you can no longer set review, change the distribution date, or delete it.
- Distribution date undecided: It is a state that the distribution has not yet been decided.
- Under Review: This is when the review setting is ON regardless of the distribution status. If it’s set to “Under Review”, you can check it in advance from the test IP before the release date.
- Review settings are only exposed in the Preparing to distribute and Pending for Distribution status. If you change the review setting to OFF after the distribution date, distribution will start immediately.
Installation Option
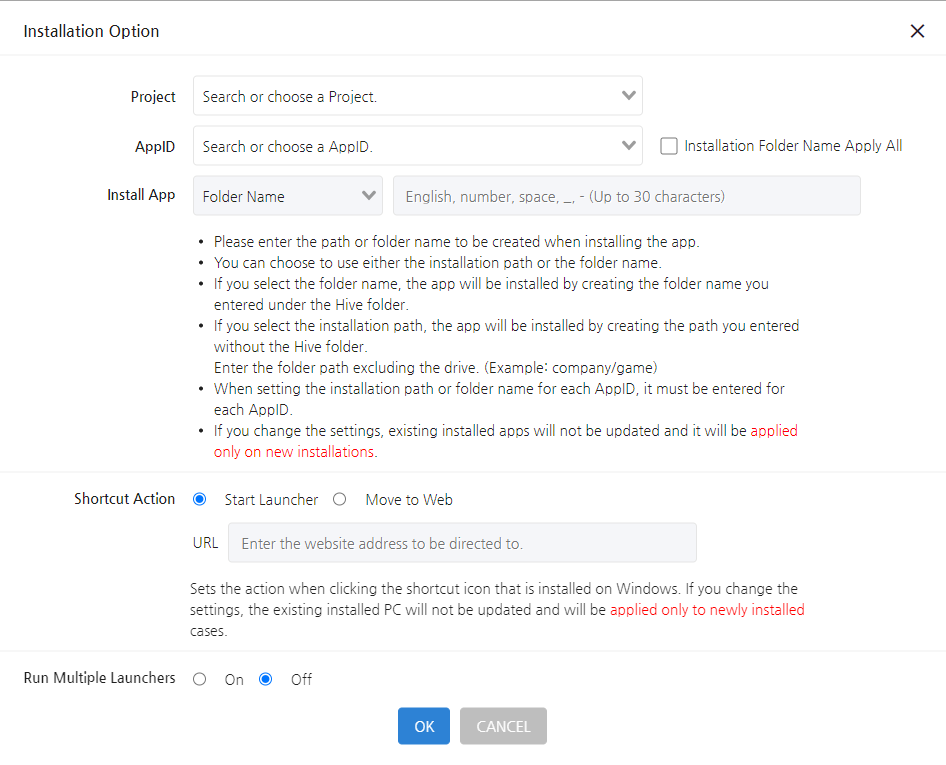
- Install App
- This function sets the path to install the app.
- Folder Name
- Install the app by creating the folder name you entered under the Hive subfolder.
- E.g.) If the entered folder name is aaa
- C:\Program Files\Hive\aaa
- E.g.) If the entered folder name is aaa
- If you do not enter a folder name, the folder will be created using the game index number.
- The folder name can be modified and is only applied when installing the app. The folder name already installed on the user’s PC will not be changed.
- Install the app by creating the folder name you entered under the Hive subfolder.
- Installation Path
- Install the app by creating the path you entered without the Hive folder.
- E.g.) If the entered installation path is aaa\bbb
- C:\Program Files\aaa\bbb
- E.g.) If the entered installation path is aaa\bbb
- The installation path can be modified and it only applies when installing the app. The path already installed on the user’s PC will not be changed.
- Install the app by creating the path you entered without the Hive folder.
- When Apply All is checked, the folder name or installation path is set on a project basis. If Apply All is unchecked, it can be set on an AppID basis. Please see below for examples of actions for each situation.
- When AppID A and B are run with the same installation path/folder name with different folder names
- After installing in the order of A → B, run A again to proceed as a new installation.
- When AppID A and B are deleted with the same installation path/folder name with different folder names
- Both files A and B are deleted, and an error pop-up appears when deleting another file after deletion
- When AppID A and B are installed with the same installation path/folder name with different folder names
- After installing in the order of A → B, file V will overwrite file A when installed
- When AppID A and B are run with the same installation path/folder name with different folder names
- Shortcut Action
- For PC Windows OS, you can set the path you want to take when installing a shortcut.
- Enter the full URL including http or https when moving to the web.
- Run Multiple Launchers
- When set to “On,” an additional game client will be launched if you add a new crossplay launcher while the game is running. There is no limit to the number of game clients to run in the crossplay launcher, but there might be restrictions on game security tools, etc.
Launcher installation/launch URI
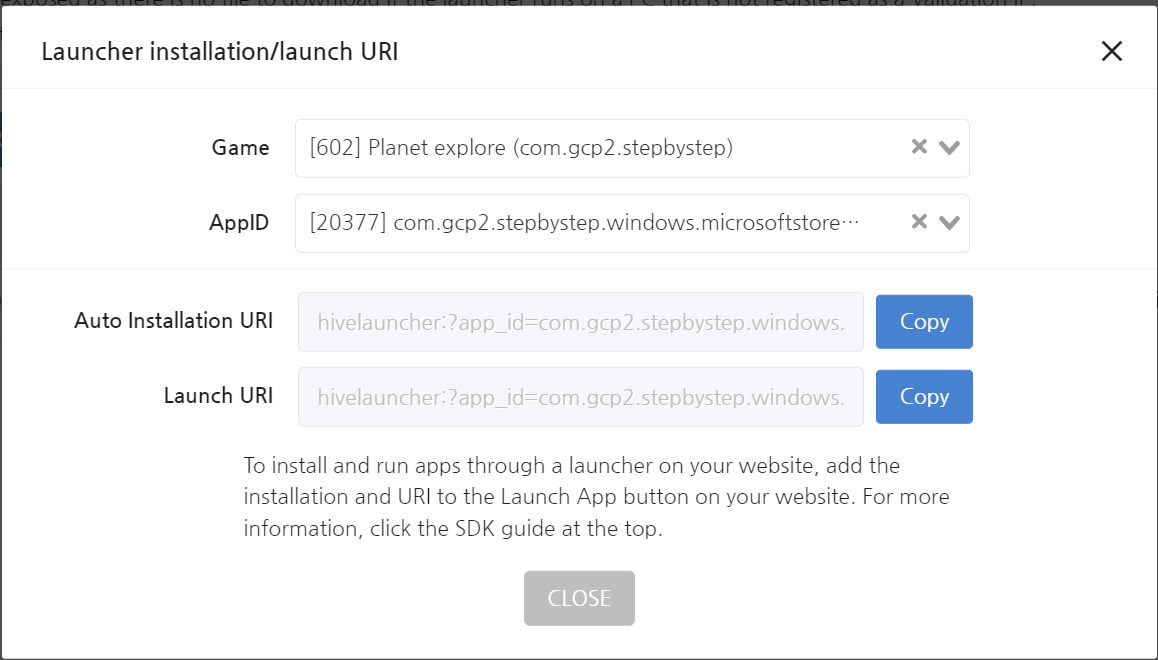
- You can copy the automatic installation URI and execution URI required for game installation by app ID. Copy the URI for your sandbox from the sandbox console.
Upload IP
Game build uploads are only available on allowed IPs. Register in the representative IP format.
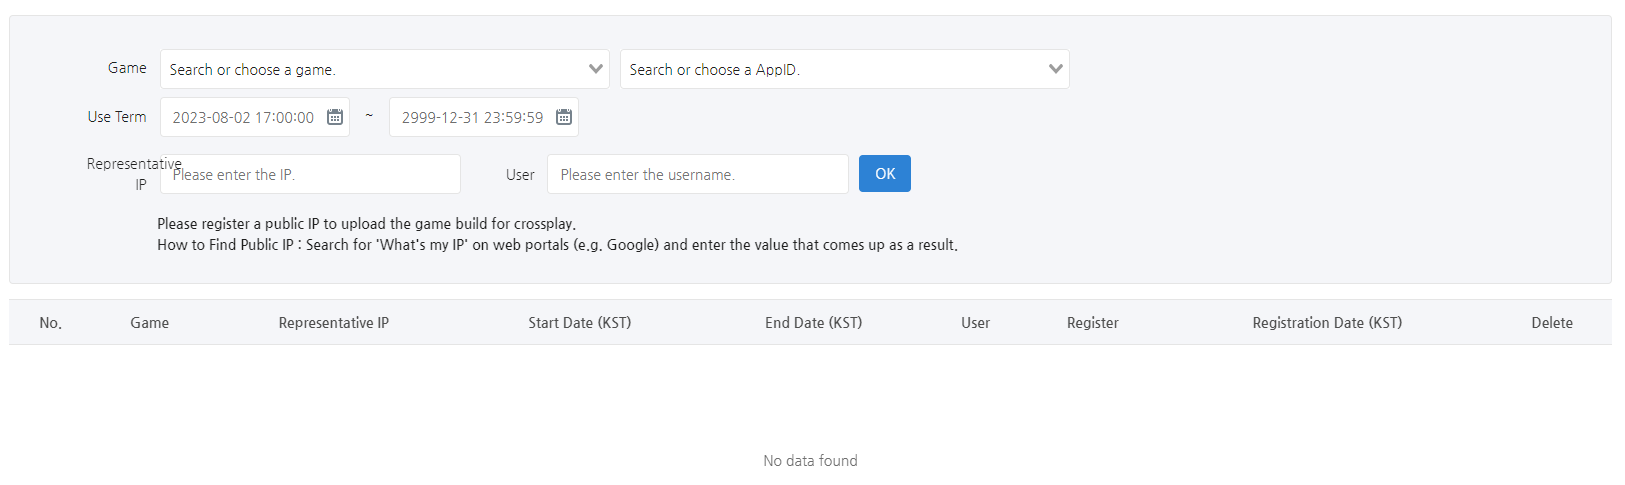
Review IP
Select the game, enter the usage period, IP, and user name, and click the Save button to register. Register the Public IP and the Private IP. Just the Public IP can be registered for companies that don’t use Private IP.

How to Register IP
- Register representative and private IPs at once.
- Click the Register IP button.
- Enter the information in the pop-up.
- Select the game first.
- Register IP for each app ID.
- If keeping the default value of the end date, there is no end date limit.
- Enter details for management in the description field.
- Register according to the representative IP verification method.
- If not using a private IP, check Disabled.
- If using a private IP, follow the guide below to register. Both user and private IP must be entered.
- Method 1
- Right-click the [monitor Icon] at the bottom right > Open Network and Internet Settings.
- Click Properties (*Click Ethernet if you have both Wi-Fi and Ethernet).
- Find the IPv4 address in the Properties section and enter.
- Method 2
- Control Panel > Network and Internet > Network and Sharing Center > Change Adapter Settings.
- Double-click the adapter displayed as Network{number} in the adapter list.
- Click the Details button in the connected Ethernet status window for more information.
- Find the IPv4 address in the Properties section and enter.
- Method 1
- Review your input and click Save.
- Add Private IP to Registered Representative IP
- Click the Add Private IP button next to the registered representative IP on the list page.
- Enter additional user and private IP in the pop-up and click Save.
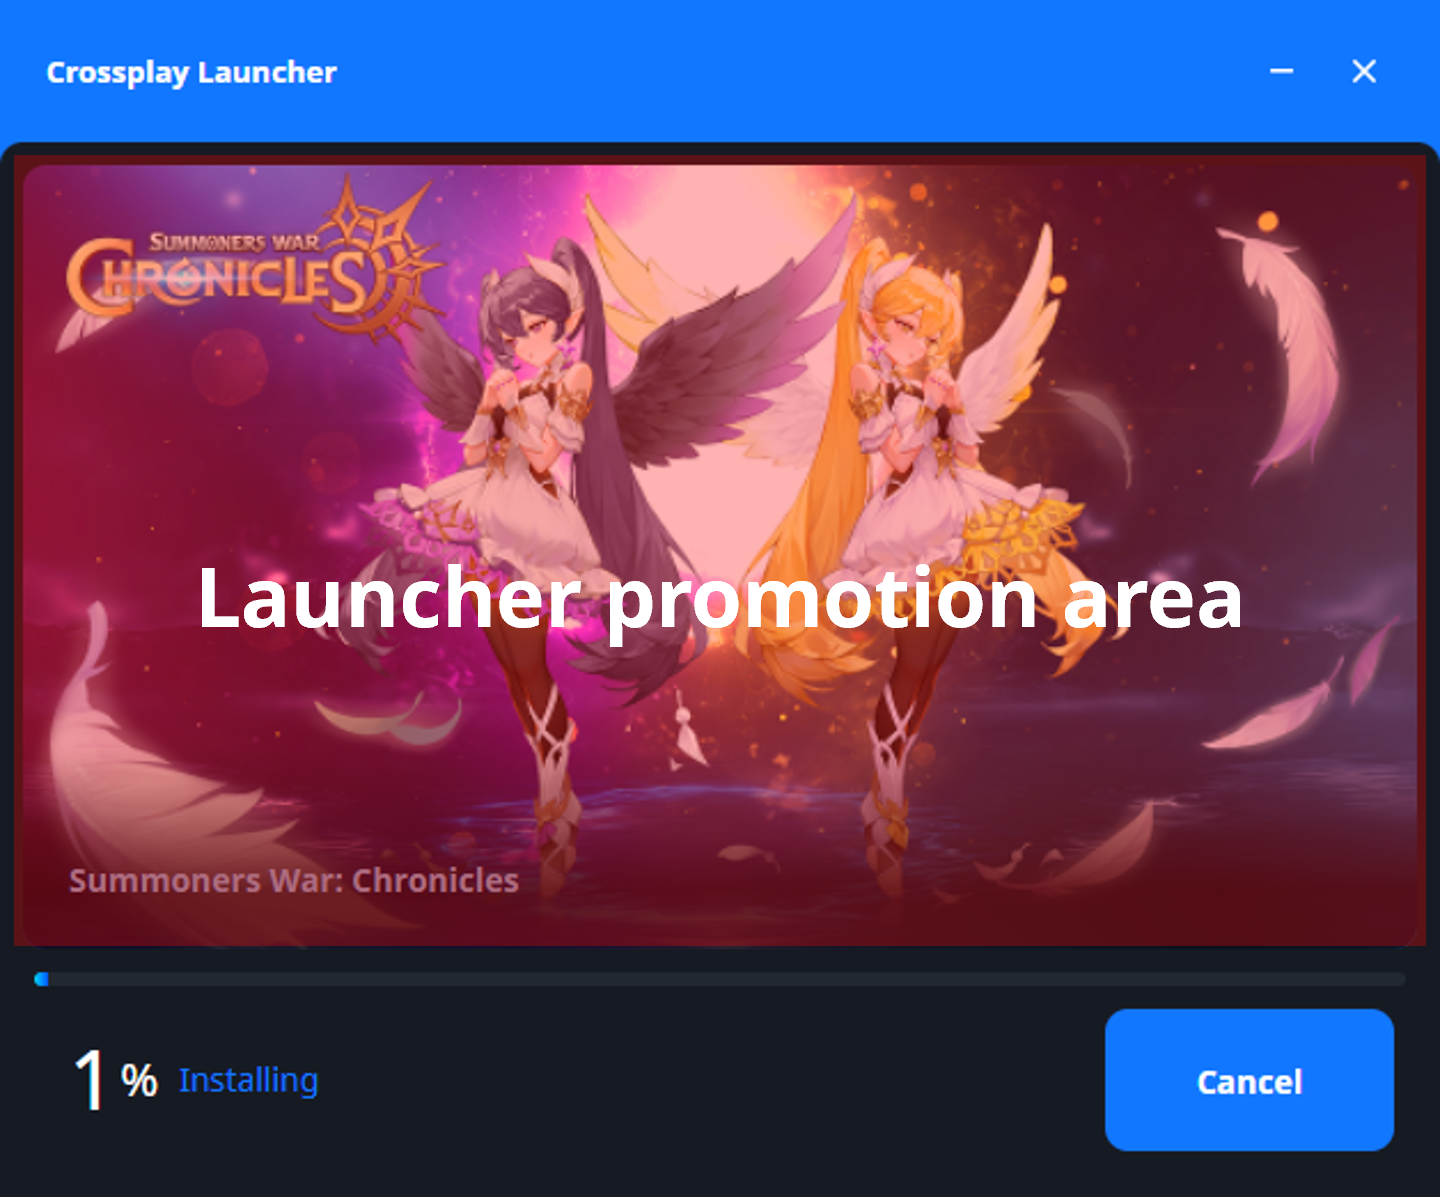
Launcher promotion area URL
The launcher promotion area loads the game’s representative image registered on the Hive web. However, depending on the game, the area can be configured as a web page and exposed. If there is no web page to be exposed, the game representative image will be shown, so please make sure to register the game representative image.
[Web page requirements]
- Display area size: 608×342 px (scroll is created when the size is bigger than the set size)
- Can be displayed in iframe (without GET method request parameter)
- Does not display cookie-use functions such as login (not supported)
- Does not display functions such as file download (not supported)
- Multilingual support: Multilingual support according to browser language setting with one URL or by making each URL for each language
- Handle all links on the page to be displayed in an external browser: Use window.open(“url”)
How to register a promotional webpage
Click the Register button to go to the registration page.

Enter the information referring to the description below and click Save.
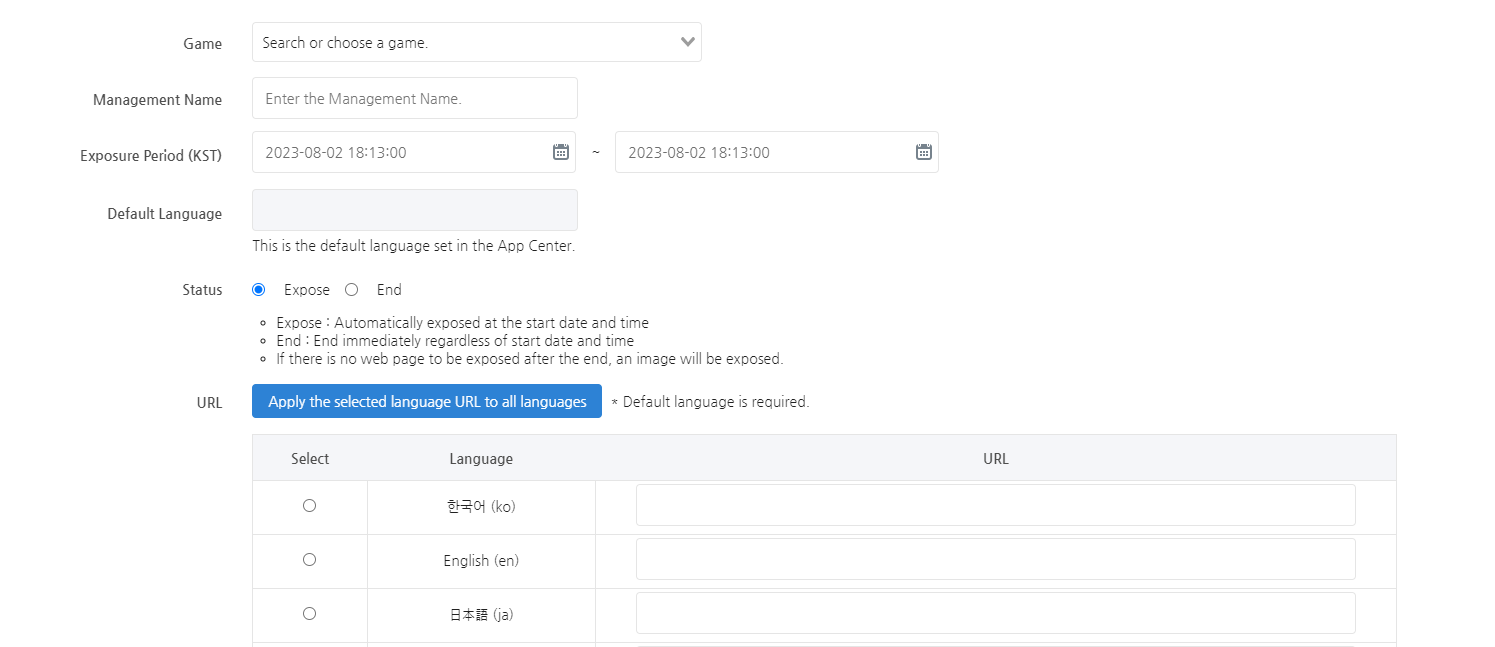
- Game: Select a game to register.
- Management name: This is used for console verification and will not be exposed to users.
- Exposure period: Set the period to expose the webpage. You cannot set a period that overlaps with the previously registered content. If there are no more web pages to expose after the exposure period is over, the representative image is exposed.
- Default language: The default language set in the App Center is selected automatically.
- Status: Default setting is ‘Expose’.
- URL: Enter the page address for each language.
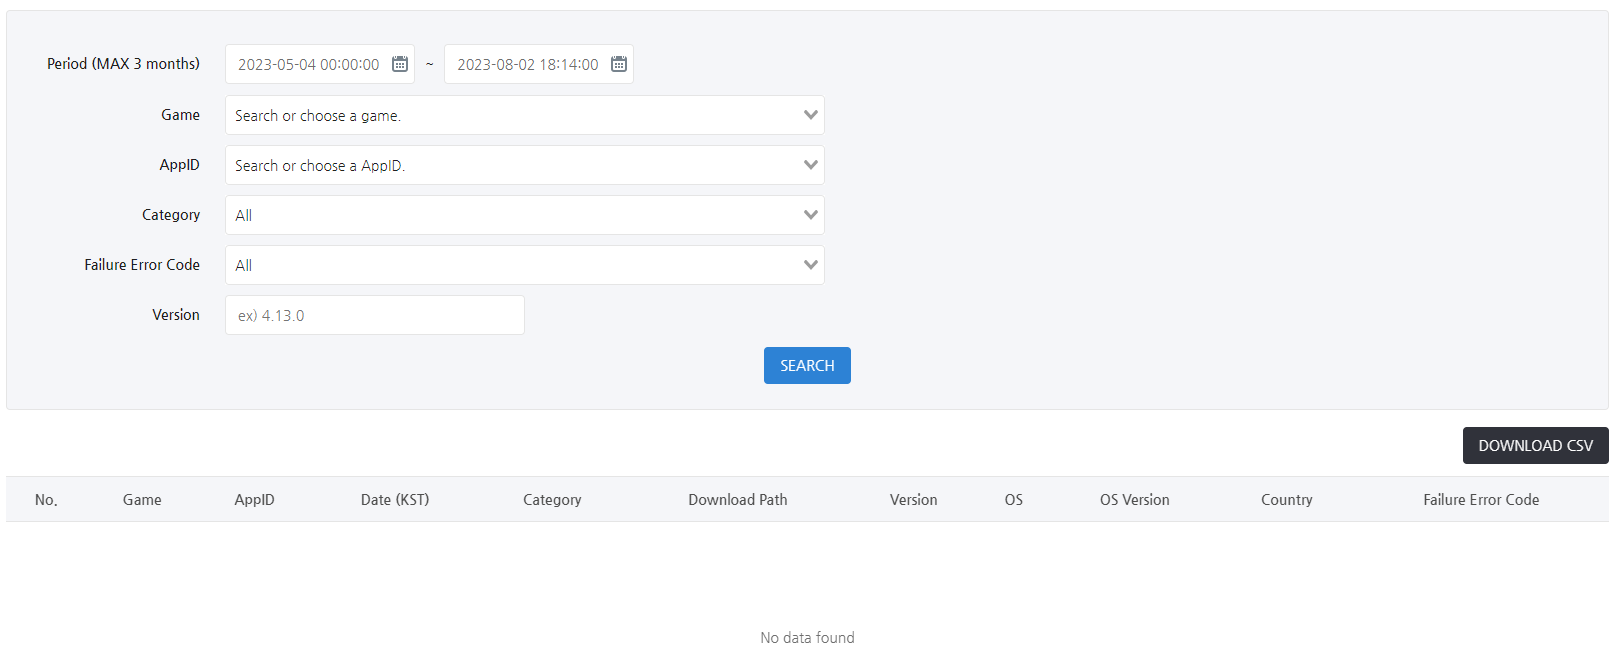
Download log
This is a menu where you can check basic logs related to App installation.
- Date and Time
- Initial installation/reinstallation: Time of clicking the OK button in the game installation folder window when a game is installed through Crossplay Launcher
- Update: Time when the update was completed
- Execution: Time of clicking the game start button in Crossplay Launcher
- Download: Time of clicking the game installation file download button on a web page, etc.
- Category
- Initial installation: When there is no previous installation history after clicking the OK button in the game installation folder window
- Reinstallation: A log of clicking the OK button in the game installation folder window. Including the case of continuing installation in a state that was not completed during the previous installation
- Update: When the update is complete
- Execution: A log of clicking the game start button
- Download: A log of clicking the game installation file download button on a web page, etc.
- Download Patch
- Web social: withhive.com
- UA information page
- UE Coupon: Information page through coupon deep link
- Shortcut: Execute Launcher
- Others: Brand sites built by the game studio and others included
- Version
- Display the update version if an error occurs during the update
Patch Exception Path
This is a menu to set the folder to skip update processing of App builds. To check the registered path, select the game and AppID in order and click Search.
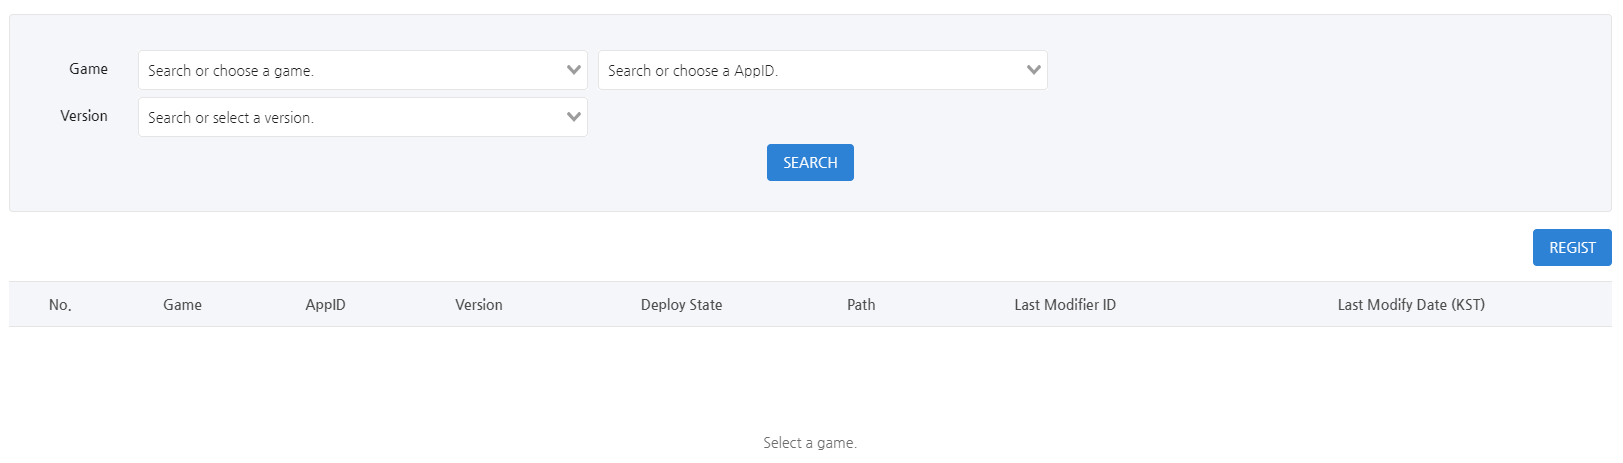
Click the Register button to register the patch exception path.
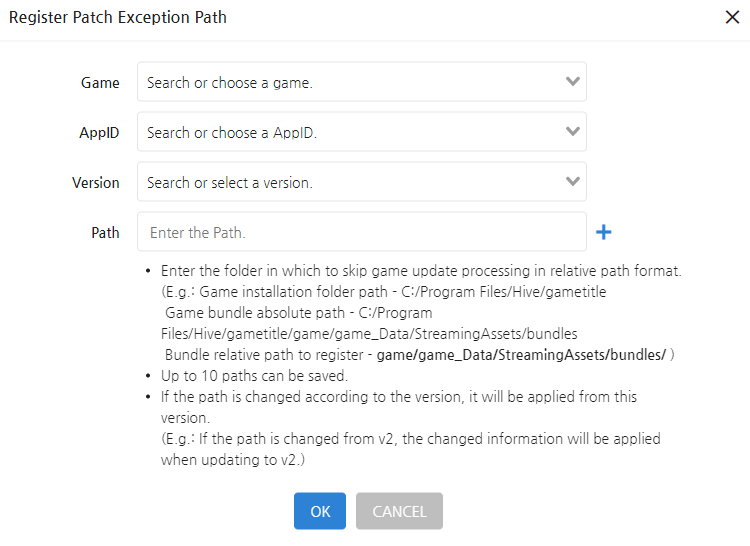
- Caution
- Be sure to enter in relative path format. The final form of a relative path must end with /.
- Example
Game installation folder path C:/Program Files/Hive/gametitle Game bundle absolute path C:/Program Files/Hive/gametitle/game/game_Data/StreamingAssets/bundles Bundle relative path to register game/game_Data/StreamingAssets/bundles/ - If the path changes according to the version, it is applied from that version. For example, if the path is changed in v2, it is applied as changed info when updating to v2.
- The version being distributed cannot have the patch modified or deleted.